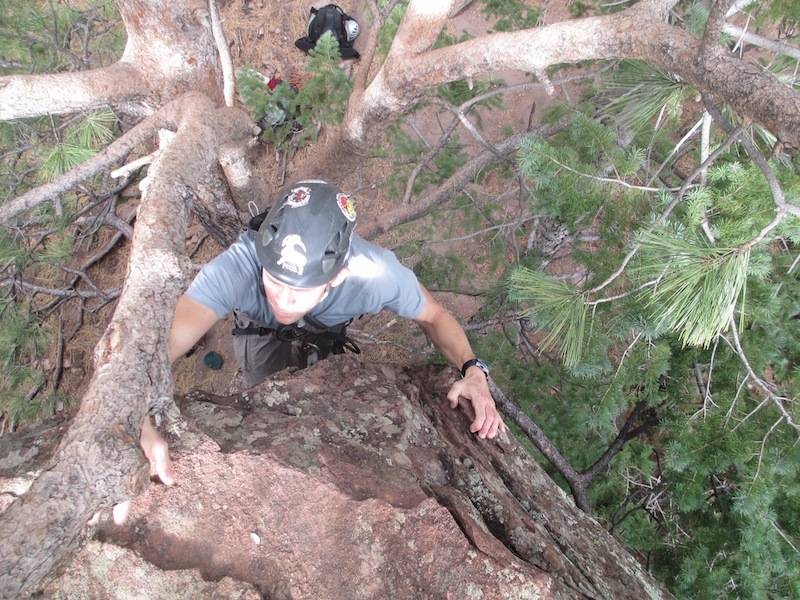
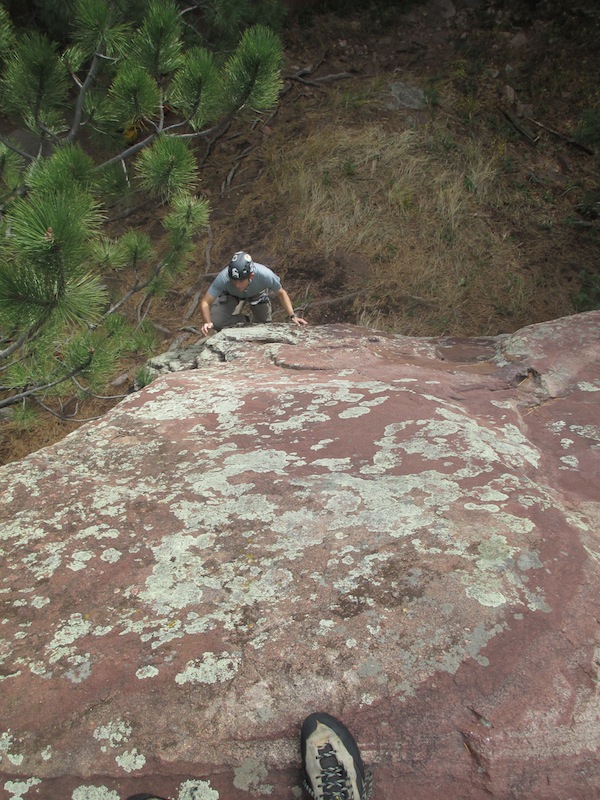
Square Rock via Tree Climb (5.T)
The Babyhorn via East Face (5.0)
The Hand via East Face (5.4S)
The Shark's Fin via South Face (5.4)
Fee via North Ridge (5.0)
Fi via Fi Fun (5.3R)
Fo via Fumbledeedum to West Ridge (5.2)
Fum via West Face ("5.3")
Dum via North Face (4th Class)
Dinosaur Mountain via Mallory Cave Trail/Fum-Dum Col
November 9, 2013
Partners: Brian and Pete
I have decided to dub this the "Jurassic Traverse" as a nice mountaineering ascent of Dinosaur Mountain.
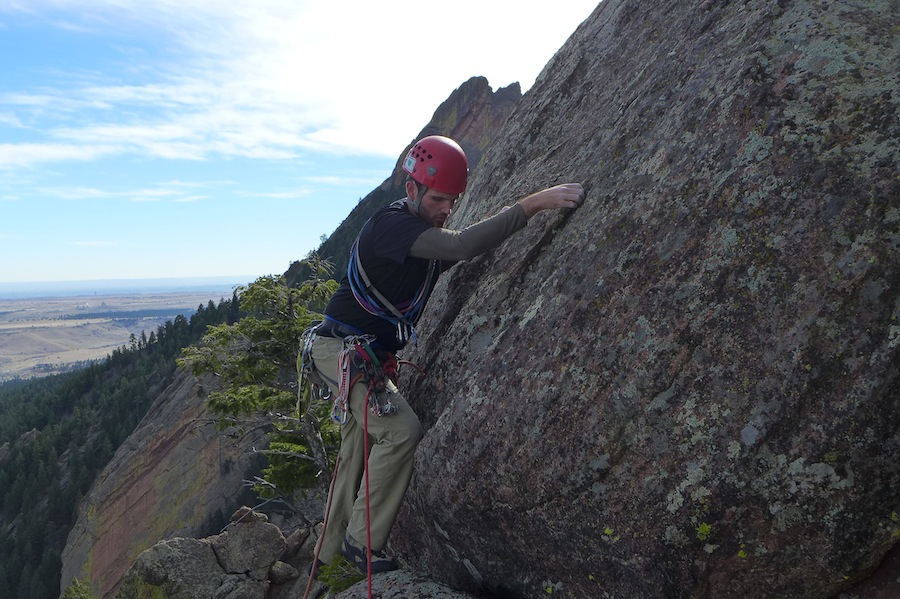
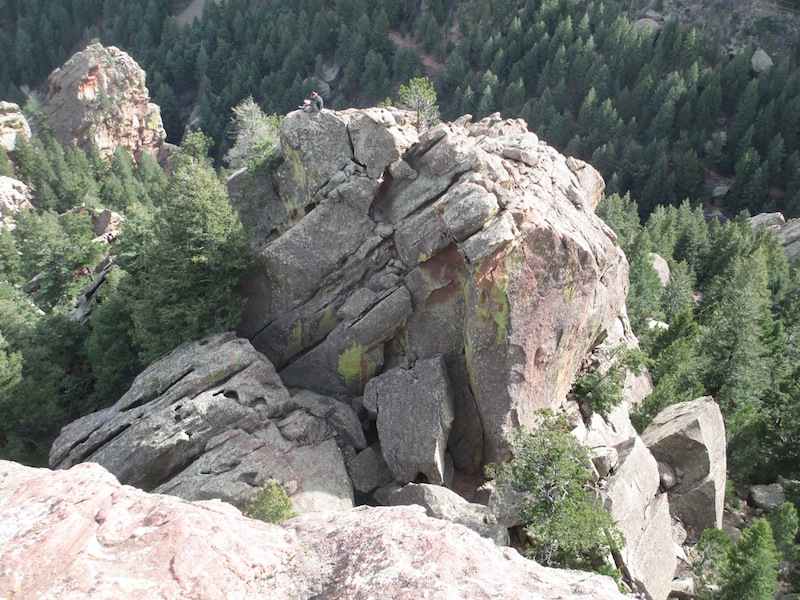
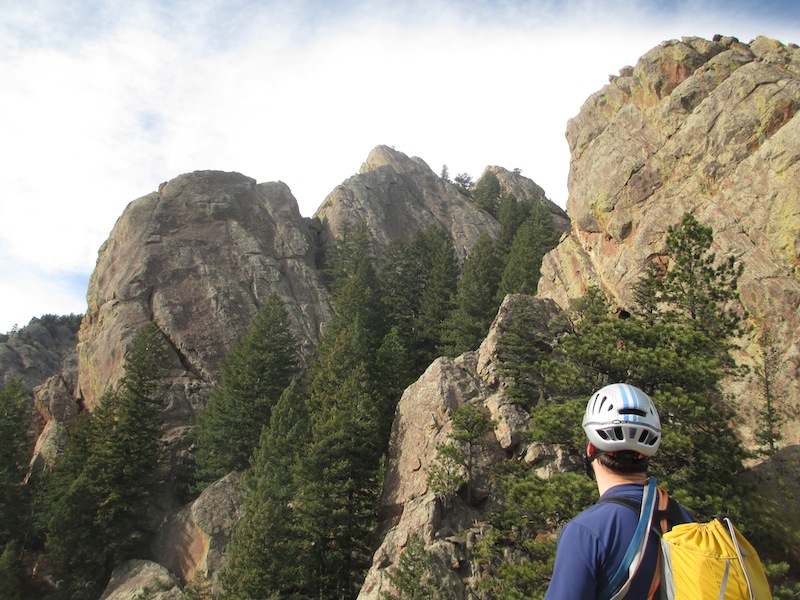
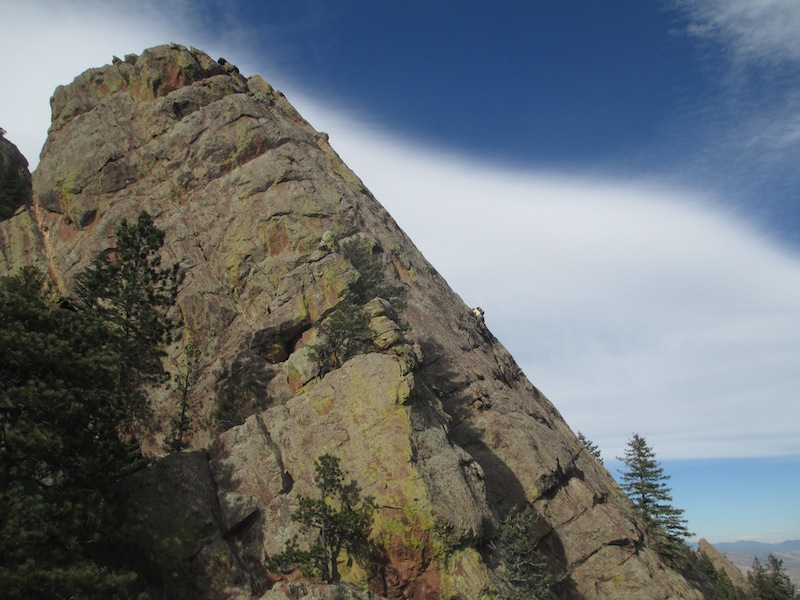
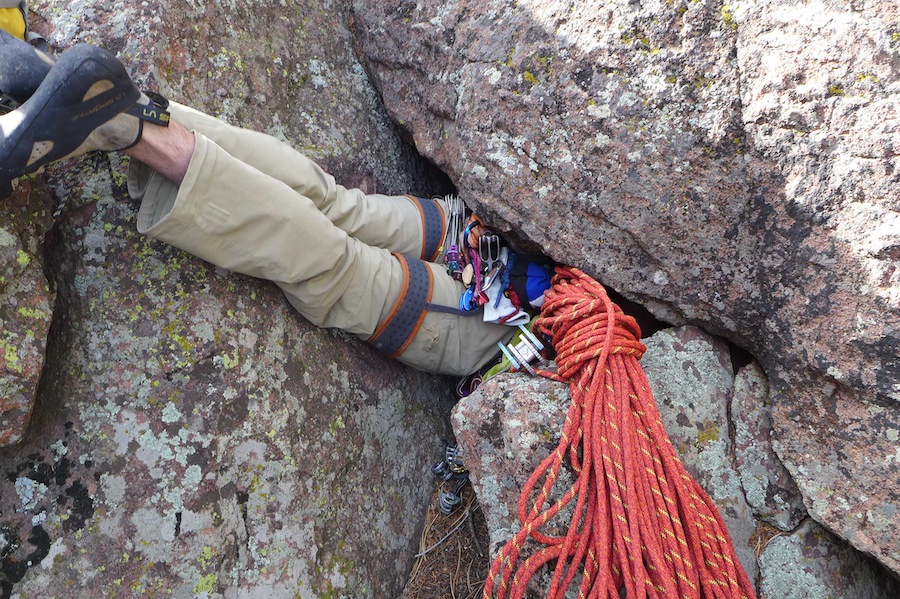
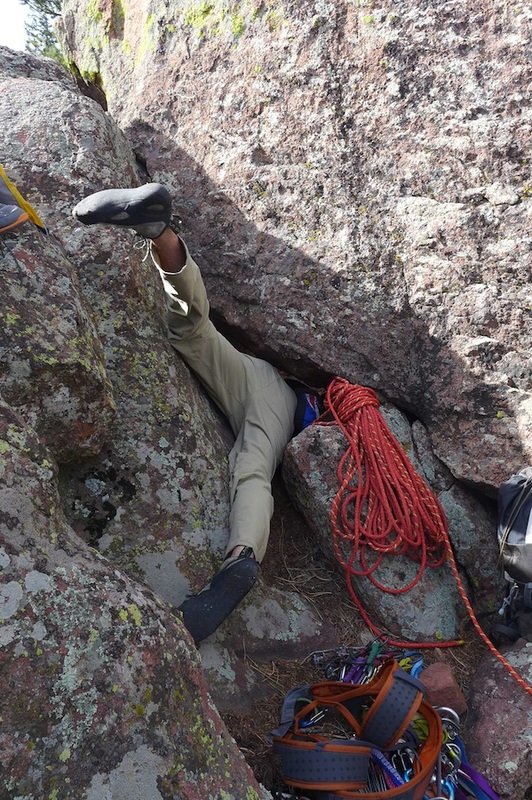
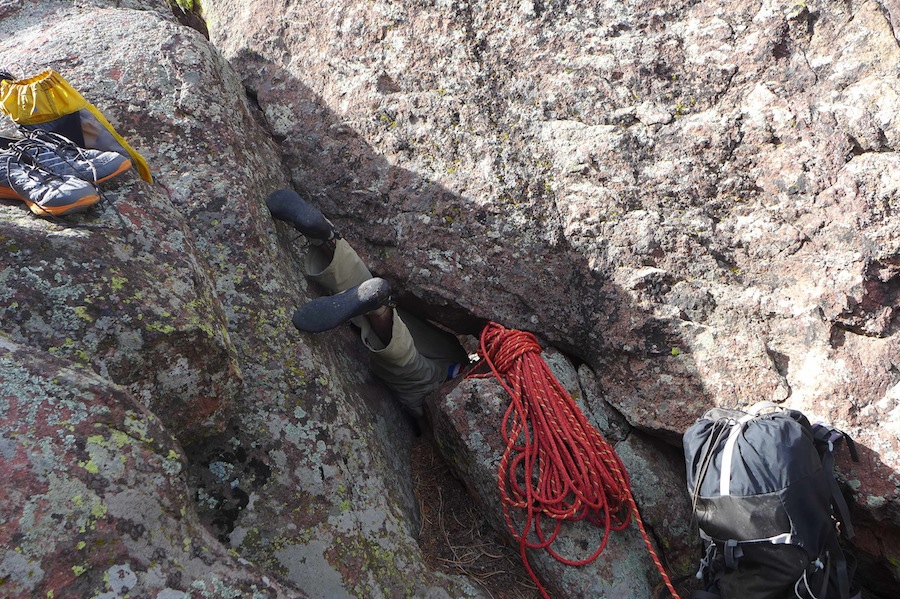
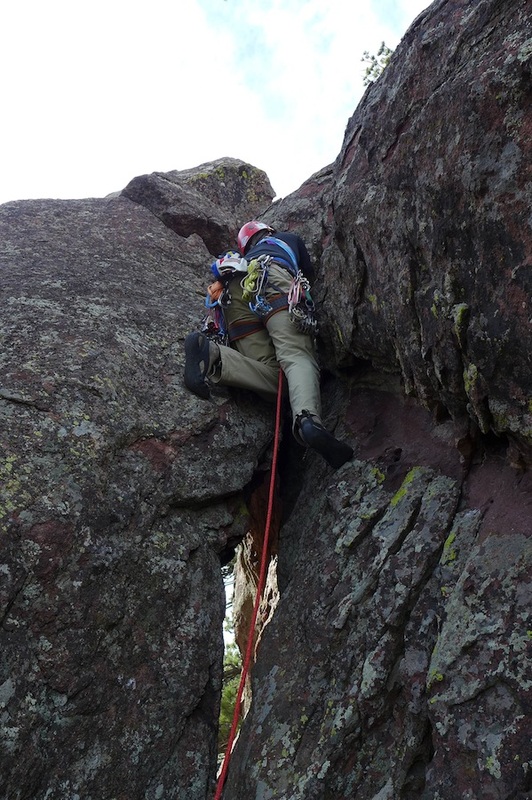
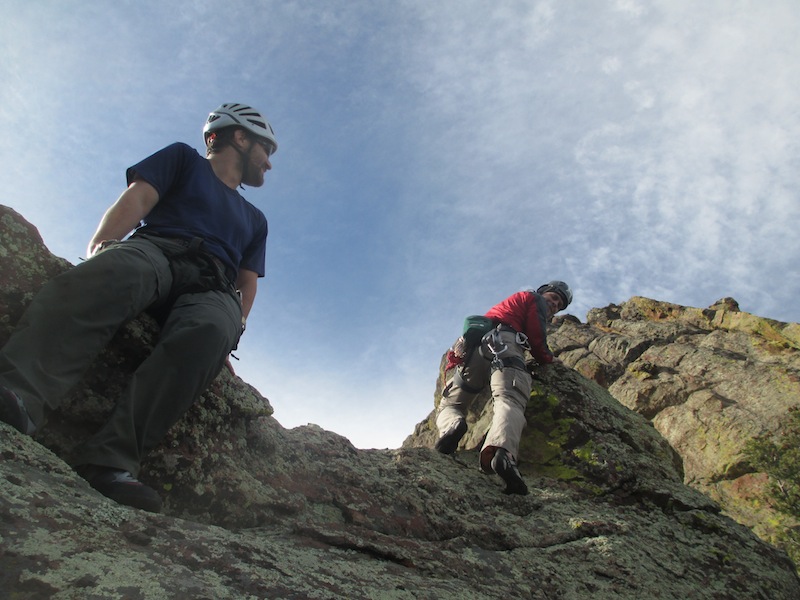
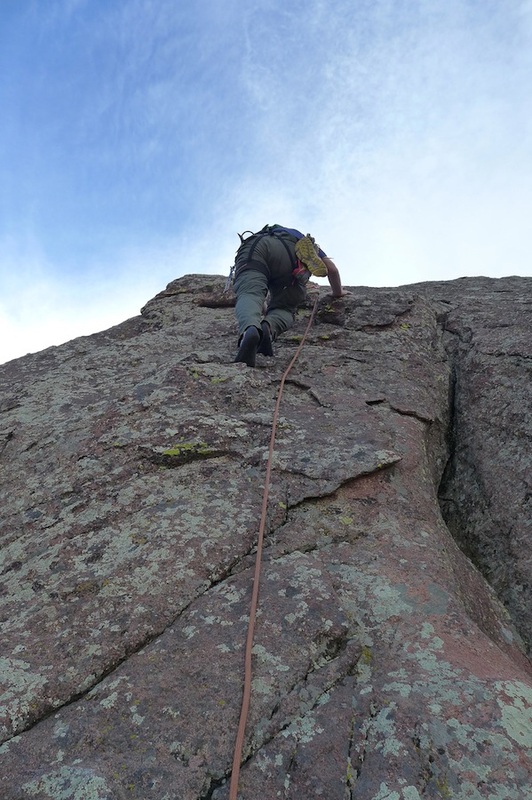
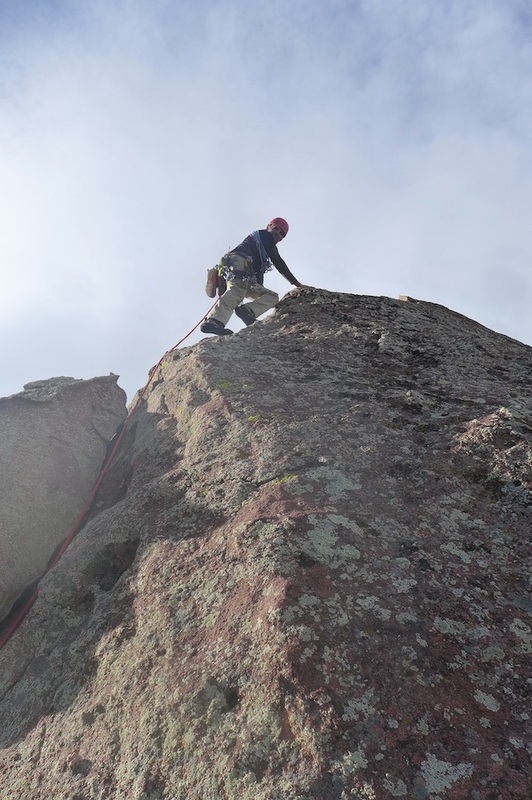
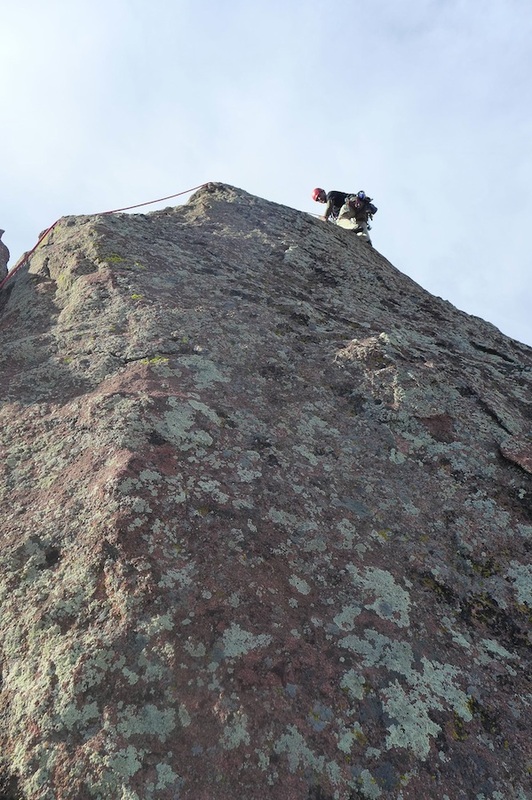
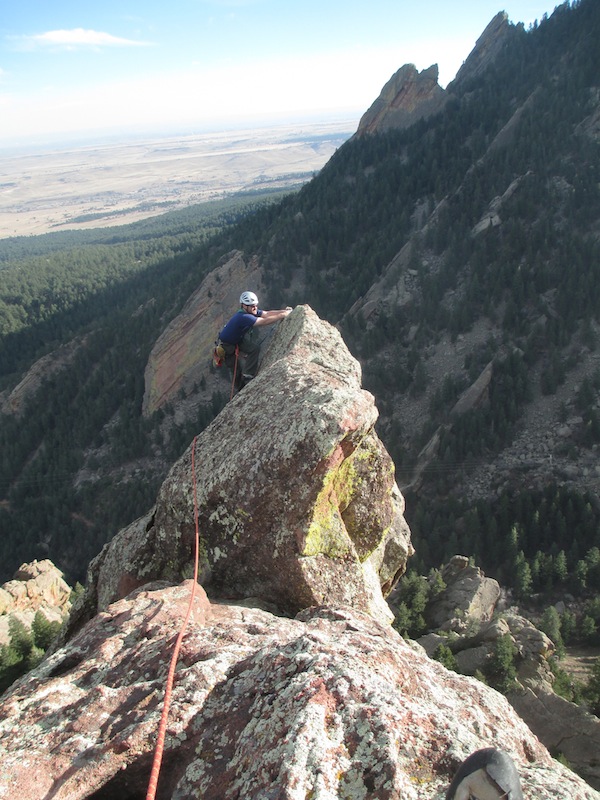
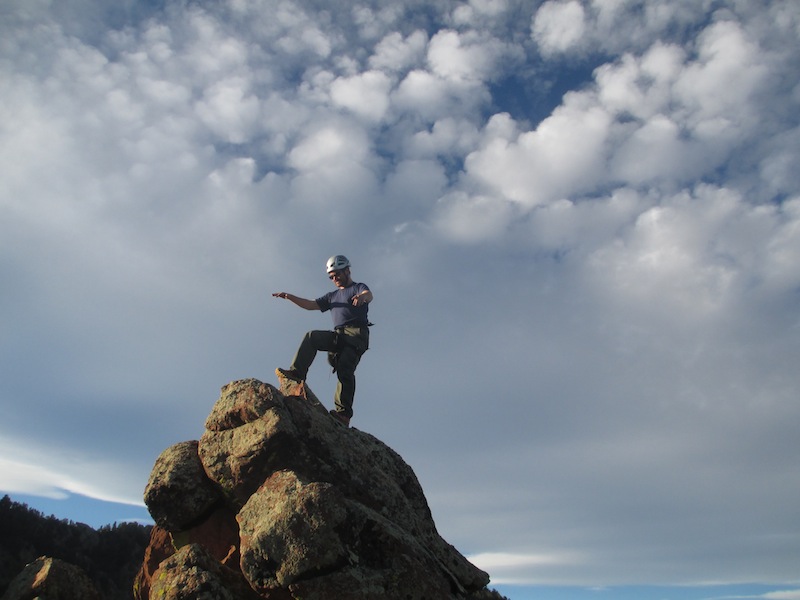
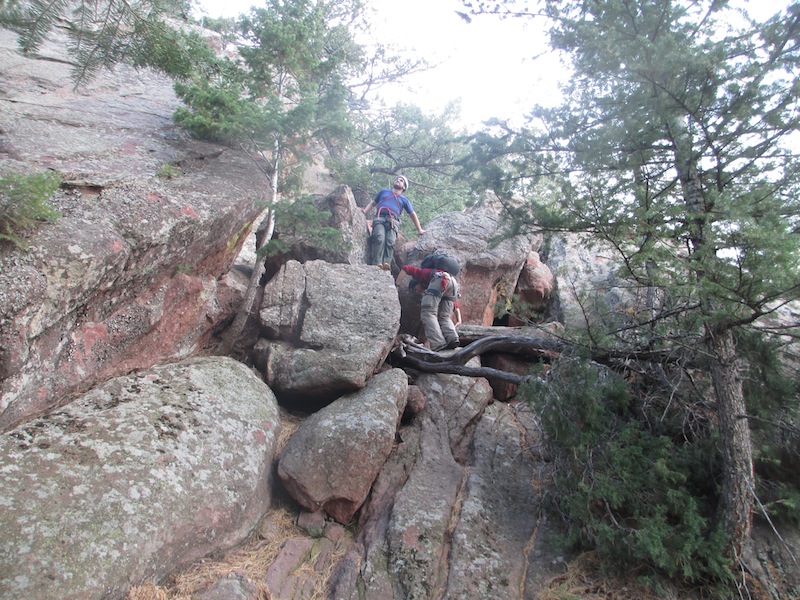
It had been too long since getting out in the Flatirons and we set out with the intention of summiting as many formations as possible. Square Rock came first and climbing the tree to the summit proved an unusual warmup for the day and also introduced me to the new rating "5.T". Proximity demanded we tack on the tiny East Face of the Babyhorn, and after the tick we quickly motored up to the base of the Hand. The Hand proved to be harder than I expected, but it was more due to the friable rock and the large run-outs than the climbing. We topped out in 3 long pitches and eyeballed the surrounding formations while peering up at another party climbing the nearby Finger Flatiron. Walking off the top of the Hand was easy and I managed to get stuck in the notorious "Fat Man's Frenzy" while trying to access the Shark's Fin. Deciding that we didn't all want to have to suck it in to fit through the Frenzy, I led a lichen/rope-drag nightmare pitch to reach the upper ledge on the Shark's Fin. We un-roped and scrambled to the tiny and exposed top of the Shark's Fin and then cruised out and down hill toward Fee. The short but knife-edged North Ridge to the summit of Fee was exciting, and we gazed down the sharp drop into Bear Canyon below. After taking in the view we made for Fi. I had remembered "Fi Fun" as being one of the best routes I had climbed in the Flatirons and was excited to do it again. It proved to be everything I remember and the rock rolled right along under my feet. The evening light was perfect as we crossed the summit knife-edge and we took a well needed break on the top. An awkward rappel put us in the Fumbledeedum Col and we followed it up to the base of the down-climb off of Fo. Another short exposed rib put us on the summit of Fo and we only stopped briefly before heading out for the gully between Fo and Fum. The gully proved to be a total bust, and we were forced to rappel a short cliff band that put us at the base of Fum. Getting tired, we scrambled around the back side of Fum and only climbed the short "5.3" back to the summit. The sun was rapidly disappearing and we quickened the pace to race it to the summit of Dinosaur Mountain. Stopping only to enjoy Dum's unique flat summit, we romped up Dinosaur Mountain and caught the top just as the sun dipped behind the southern flanks of Green Mountain. It had been a great day and it was glorious to be able to top out on many formations and cover loads of 5th class terrain.
Partners: Brian and Pete
I have decided to dub this the "Jurassic Traverse" as a nice mountaineering ascent of Dinosaur Mountain.
It had been too long since getting out in the Flatirons and we set out with the intention of summiting as many formations as possible. Square Rock came first and climbing the tree to the summit proved an unusual warmup for the day and also introduced me to the new rating "5.T". Proximity demanded we tack on the tiny East Face of the Babyhorn, and after the tick we quickly motored up to the base of the Hand. The Hand proved to be harder than I expected, but it was more due to the friable rock and the large run-outs than the climbing. We topped out in 3 long pitches and eyeballed the surrounding formations while peering up at another party climbing the nearby Finger Flatiron. Walking off the top of the Hand was easy and I managed to get stuck in the notorious "Fat Man's Frenzy" while trying to access the Shark's Fin. Deciding that we didn't all want to have to suck it in to fit through the Frenzy, I led a lichen/rope-drag nightmare pitch to reach the upper ledge on the Shark's Fin. We un-roped and scrambled to the tiny and exposed top of the Shark's Fin and then cruised out and down hill toward Fee. The short but knife-edged North Ridge to the summit of Fee was exciting, and we gazed down the sharp drop into Bear Canyon below. After taking in the view we made for Fi. I had remembered "Fi Fun" as being one of the best routes I had climbed in the Flatirons and was excited to do it again. It proved to be everything I remember and the rock rolled right along under my feet. The evening light was perfect as we crossed the summit knife-edge and we took a well needed break on the top. An awkward rappel put us in the Fumbledeedum Col and we followed it up to the base of the down-climb off of Fo. Another short exposed rib put us on the summit of Fo and we only stopped briefly before heading out for the gully between Fo and Fum. The gully proved to be a total bust, and we were forced to rappel a short cliff band that put us at the base of Fum. Getting tired, we scrambled around the back side of Fum and only climbed the short "5.3" back to the summit. The sun was rapidly disappearing and we quickened the pace to race it to the summit of Dinosaur Mountain. Stopping only to enjoy Dum's unique flat summit, we romped up Dinosaur Mountain and caught the top just as the sun dipped behind the southern flanks of Green Mountain. It had been a great day and it was glorious to be able to top out on many formations and cover loads of 5th class terrain.
Very brief and vague route descriptions to random formations that sit on Dinosaur Mountain...
Square Rock via Tree Climb
Approach: Follow the Mallory Cave trail past the turnoff for Porch alley until it arrives at the base of Square Rock and the Babyhorn.
Route: Climb the tree on the NW corner until it's possible to gain the rock and make a final mantel onto the flat summit. 5.T - 25'
Descent: Either rappel from summit bolts or down-climb the tree.
Babyhorn via East Face
Approach: Same as for Square Rock. The Babyhorn is the smaller boulder immediately to the west of Square Rock.
Route: Scramble directly up the east face to the small summit. There is a single bolt/ring on top. 5.0-5.2 - 30'
Descent: Reverse the route.
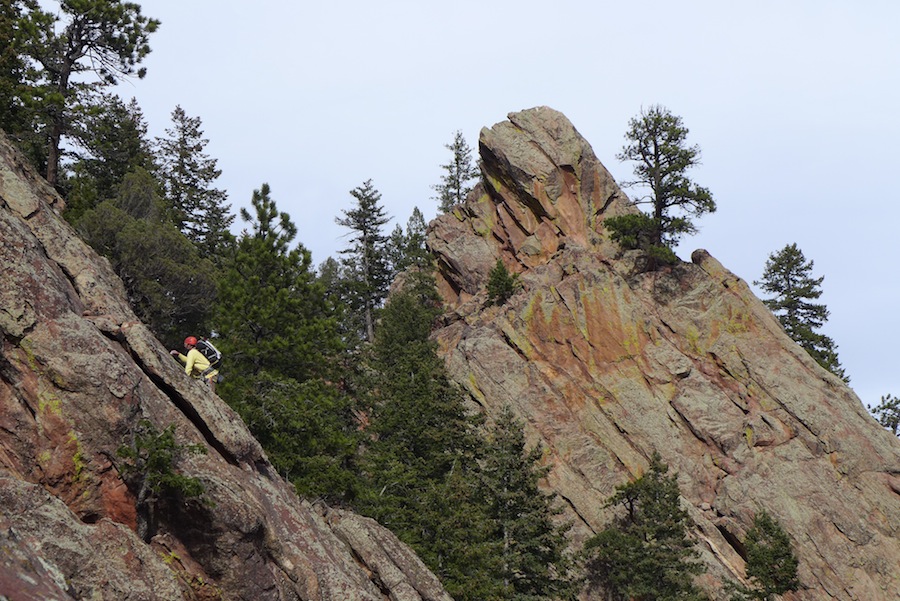
The Hand via East Face
Approach: Continue up the Mallory Cave trail passing under Dinosaur Rock on the way. After the trail passes the Der Zerkle sport routes, the trail touches the base of the Hand. Be careful not to climb Der Freischutz instead as it also comes close to the trail.
Route:
P1 - 5.2 - Work directly upward following the path of least resistance. There is some lichen and friable rock in places so watch carefully. Work out a poor belay on a ledge after a full rope-length. Protection is quite poor on this pitch. 195'
P2 - 5.4 - Climb the steep headwall above on small, yet positive holds and arrive at a ledge at the base of a large chimney splitting the formation. Walk right to the far northern edge of the ledge until it is possible to look down into the Mallory Cave amphitheater. Make one move of 5.4 that will seem easier than the headwall below, and belay on another ledge right against the chimney. 120'
P3 - 5.2 - Step across the chimney while being careful not to fall in. Traverse left until easier rock leads upward to the summit. 140'
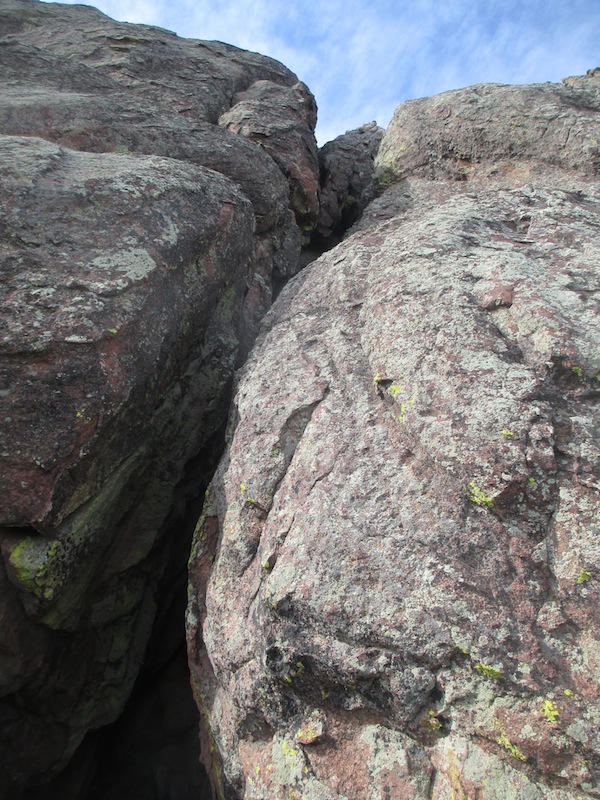
Descent: Walk off to the north into the gully between the Hand and the Shark's Fin. Locate a tight hole aptly named "Fat Man's Frenzy" and worm through to gain the gully below. Scramble through a slot to the west until it is possible to hike up and around the Finger Flatiron and regain the Mallory Cave trail. "Fat Man's Frenzy" can be avoided by climbing over to the Shark's Fin, but this is licheny 5th class.
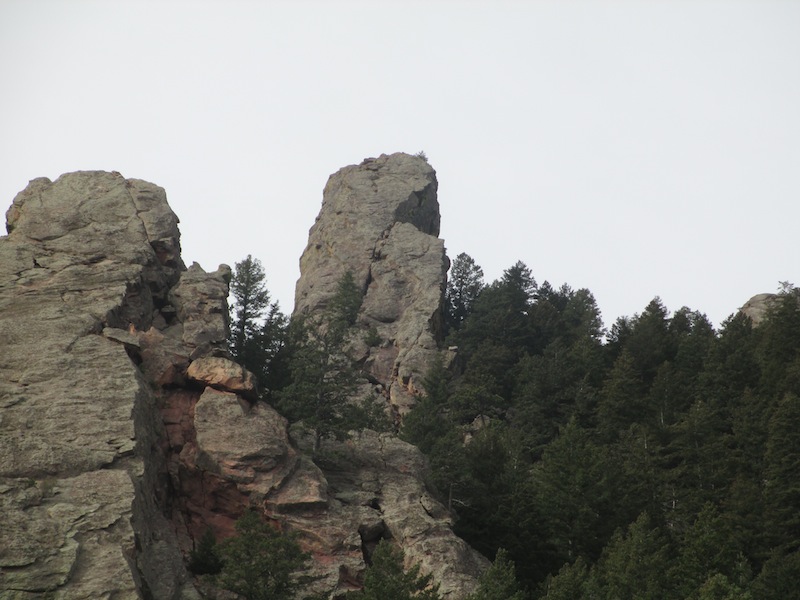
Shark's Fin via South Face
Approach: Easiest way is to climb the Hand as the normal routes are now under an indefinite closure due to their proximity to Mallory Cave. It is possible to reverse the descent from the Hand to reach the gully between the Shark's Fin and the Finger Flatiron but this still requires some climbing.
Route:
P1 - 5.4S - From the saddle between the Hand and the Shark's Fin, climb a poorly protected lichen "chimney" for about 20' and find whatever seems best to gain a large tree to the south of the summit block. I did an exposed and run-out traverse than circumnavigated a large boulder to gain the tree. The rope drag was terrible and I do not recommend it. 50'
"P2" - 5.0 - Un-rope at the tree and solo up a short corner to gain a final ledge on the south face of the summit block. Walk east to the end of the ledge and climb up a short vertical wall to gain the east face immediately below the summit. A few more exposed moves deposit you on the tiny summit. 100'
Descent: Reverse your route to the last ledge. It is not possible to walk off to the north, then scramble west through the same slot as for the Hand's descent. Hike up and around the Finger Flatiron and regain the Mallory Cave trail.
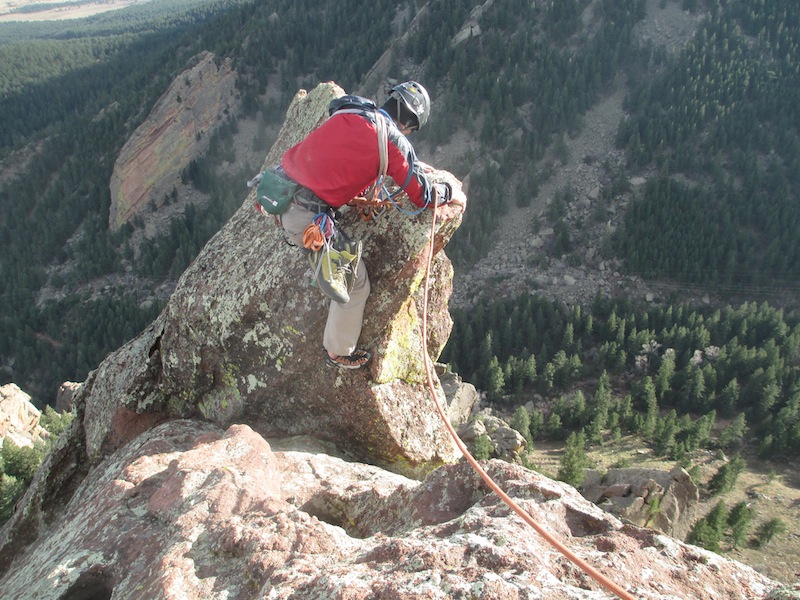
Fee via North Ridge
Approach: Hike the Mallory Cave trail up past the summit of the Finger Flatiron until Fi and Fo are visible above. Descend the gully passing Fo and Fi until the small summit of Fee is in view.
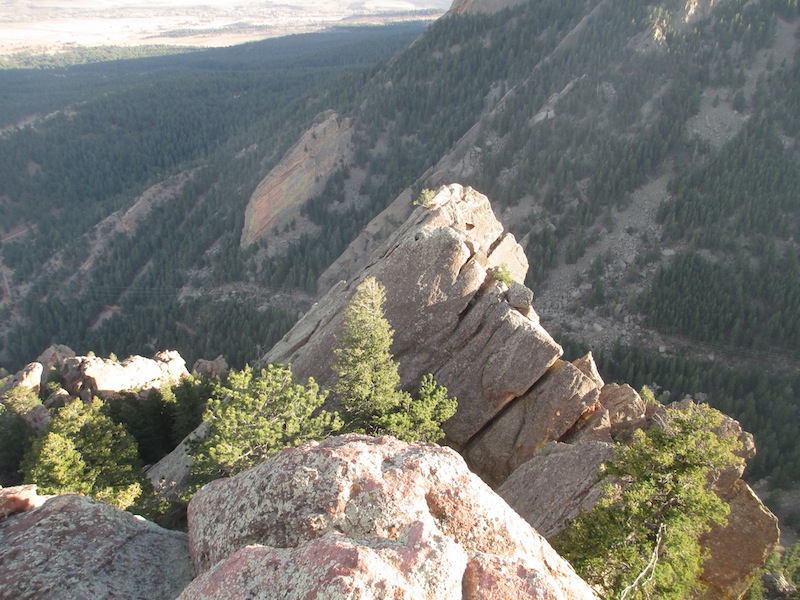
Route: Scramble to the notch to the north of the summit. The exposure here is surprising! Scramble the exposed knife-edge south to the summit. 5.0 - 30'
Descent: Reverse the route.
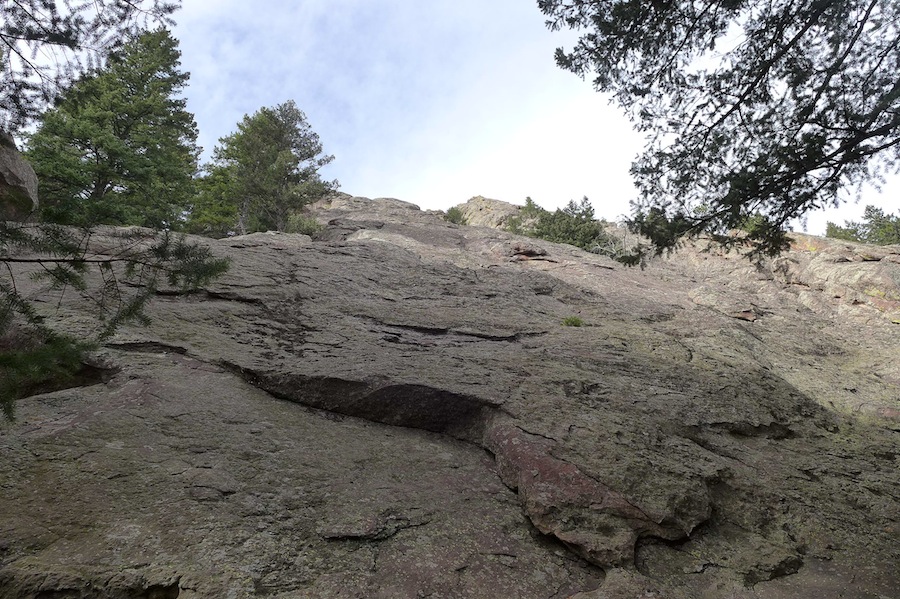
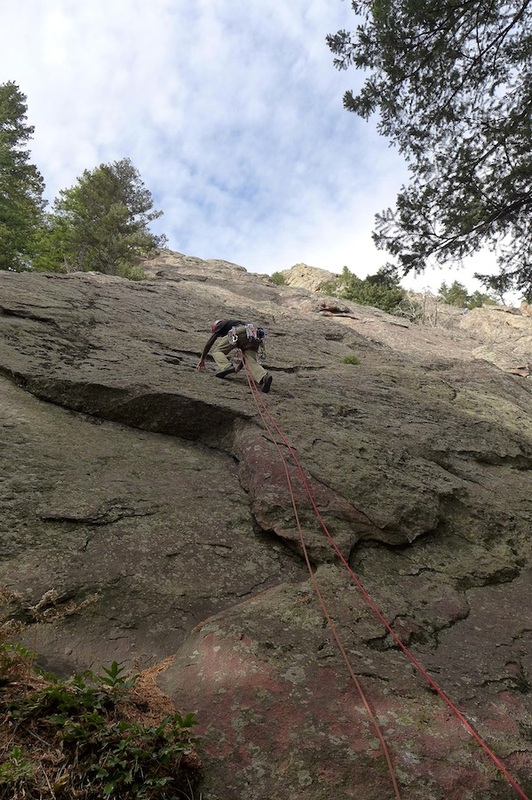
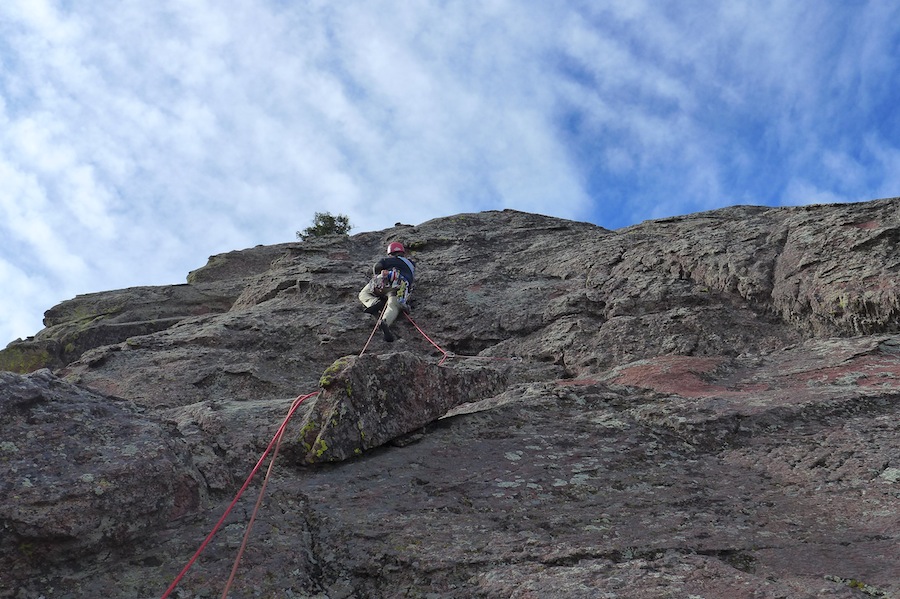
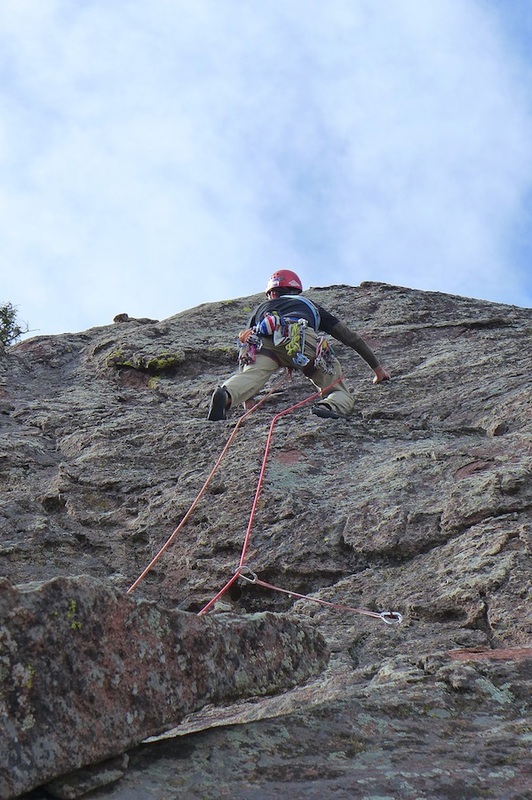
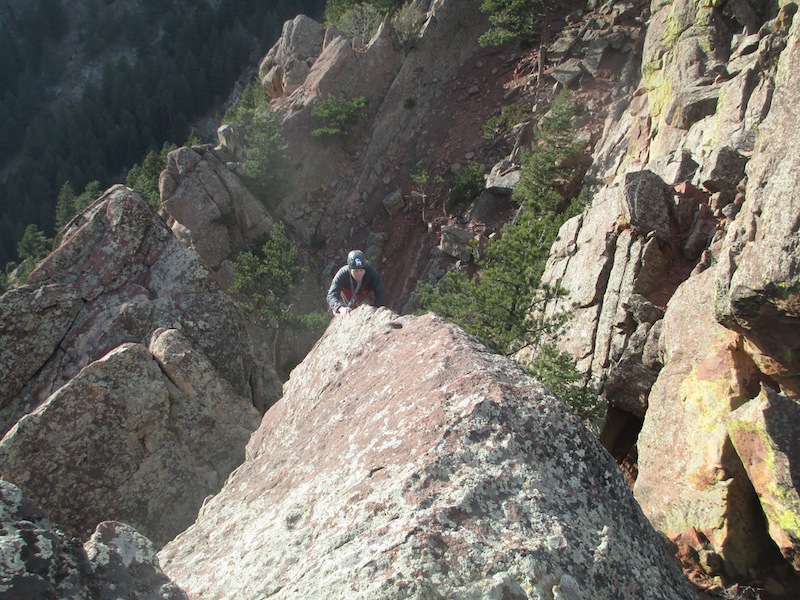
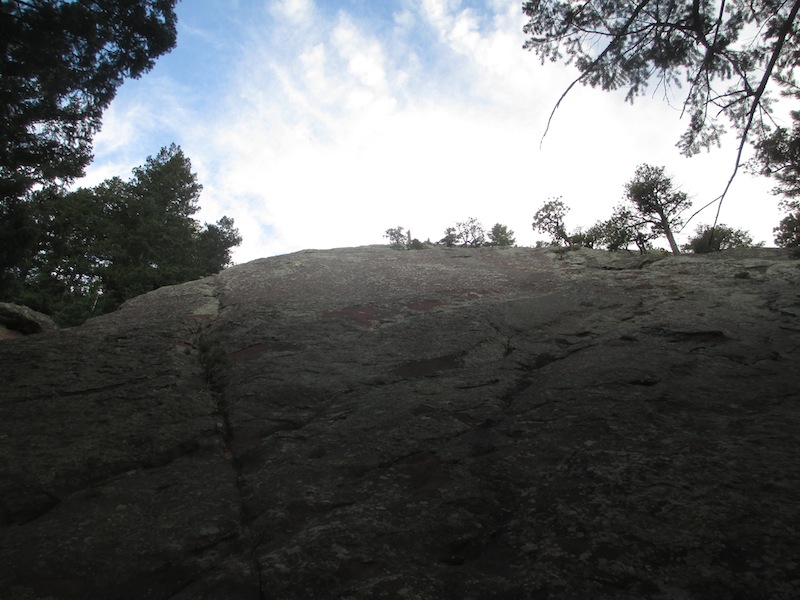
Fi via Fi Fun
Approach: Hike the Mallory Cave trail up past the summit of the Finger Flatiron until Fi and Fo are visible above. Descend past Fo to the toe of Fi.
Route:
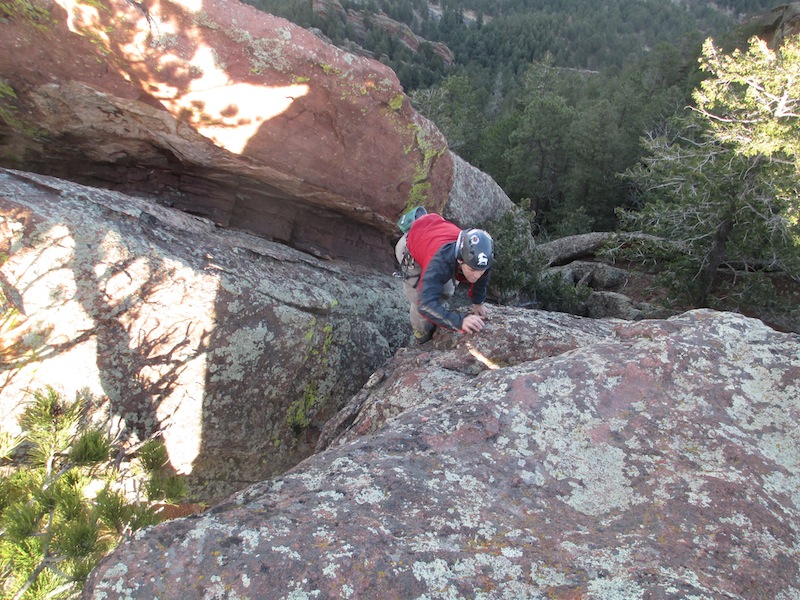
P1 - 5.0 - From the low point of the rock. Sail up easy terrain and belay from a tiny tree near the south edge. 100'
P2 - 5.3 - Continue up the run-out face above following the path of least resistance. The pro is sparse and the holds are small, but the low angle of the rock invites upward progress. Eventually the angle eases more and belay at an alcove at the top of the southern edge. 130'
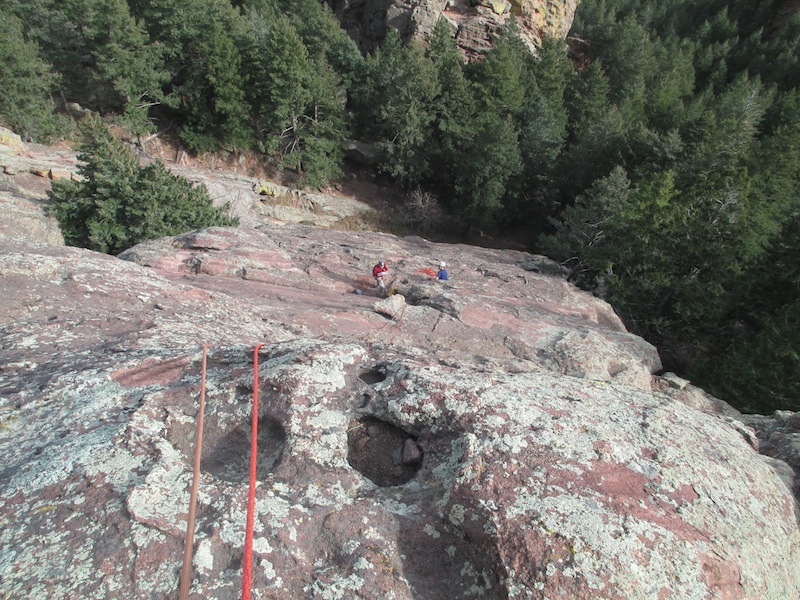
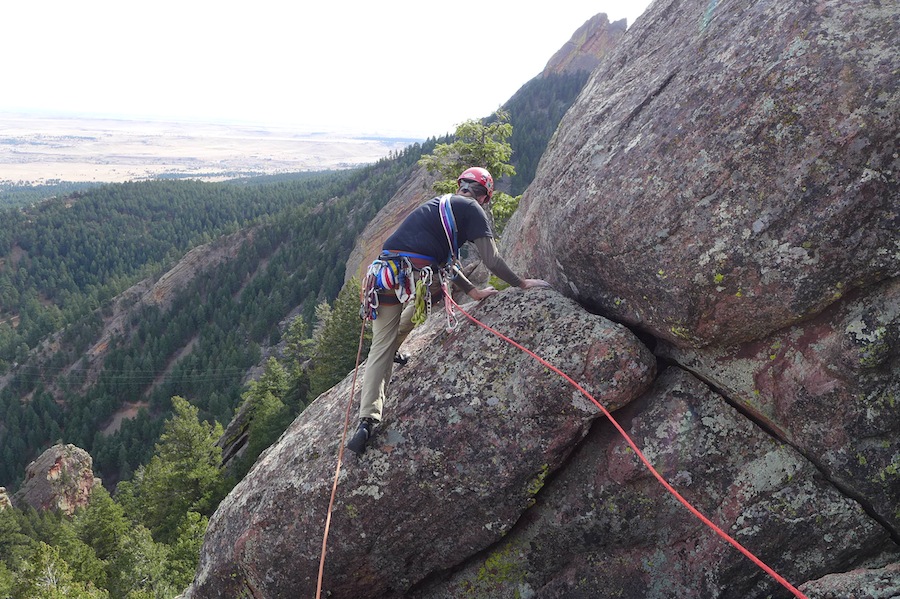
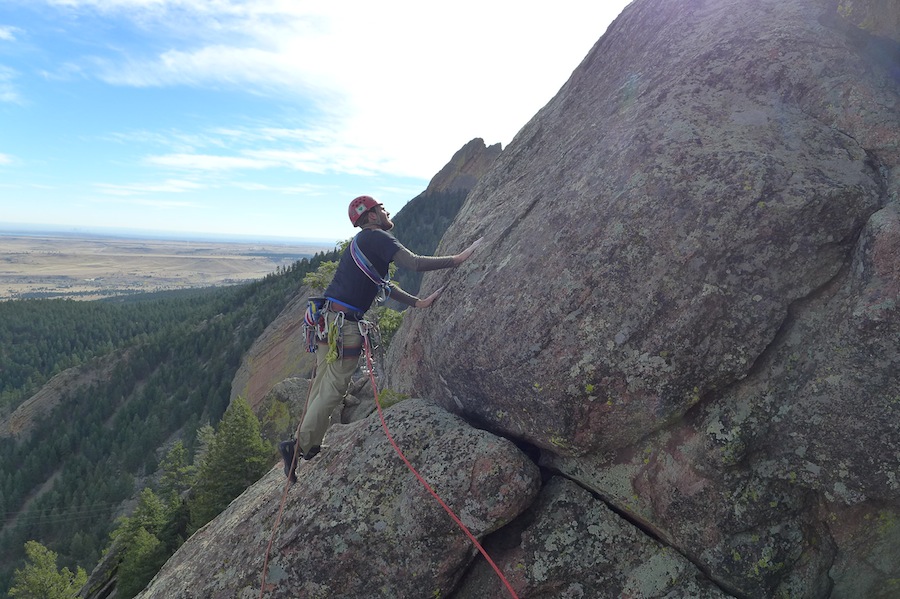
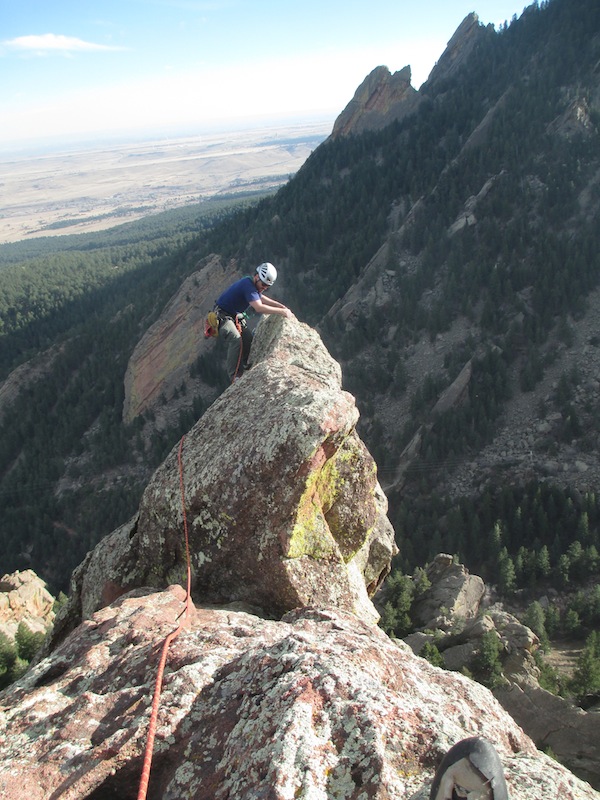
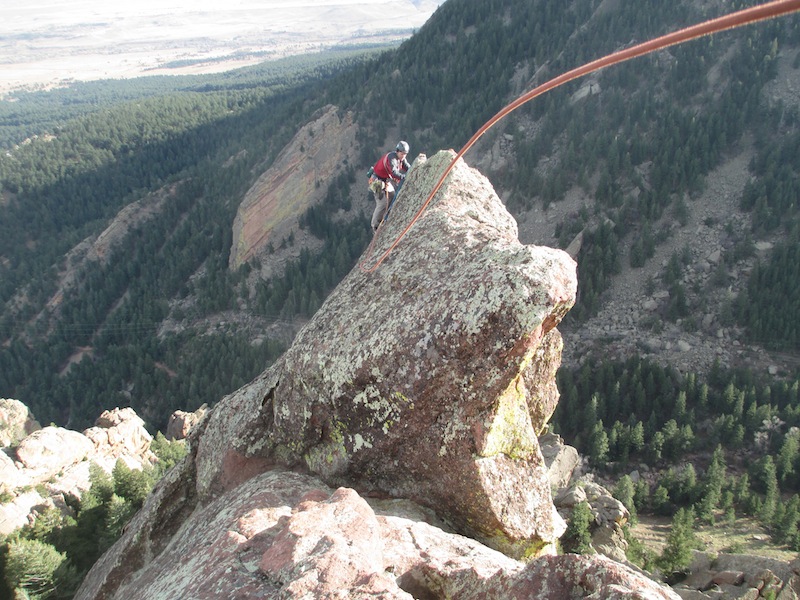
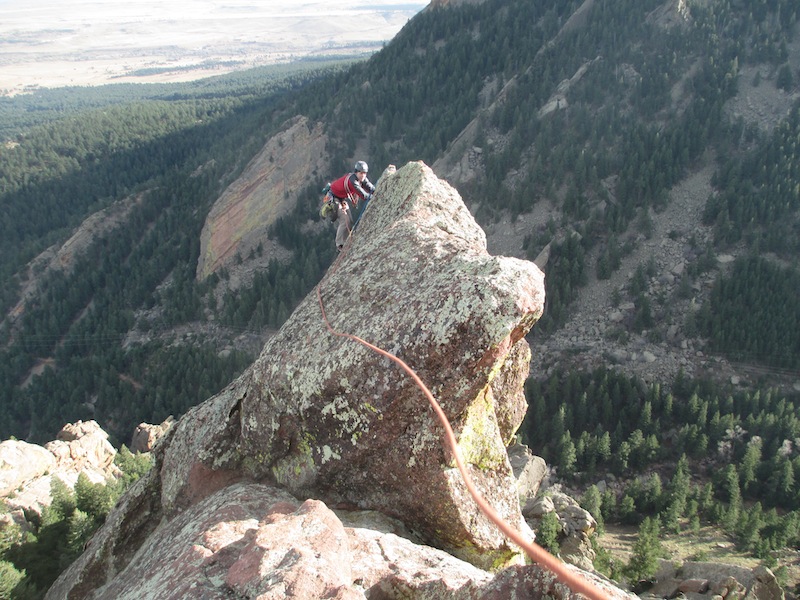
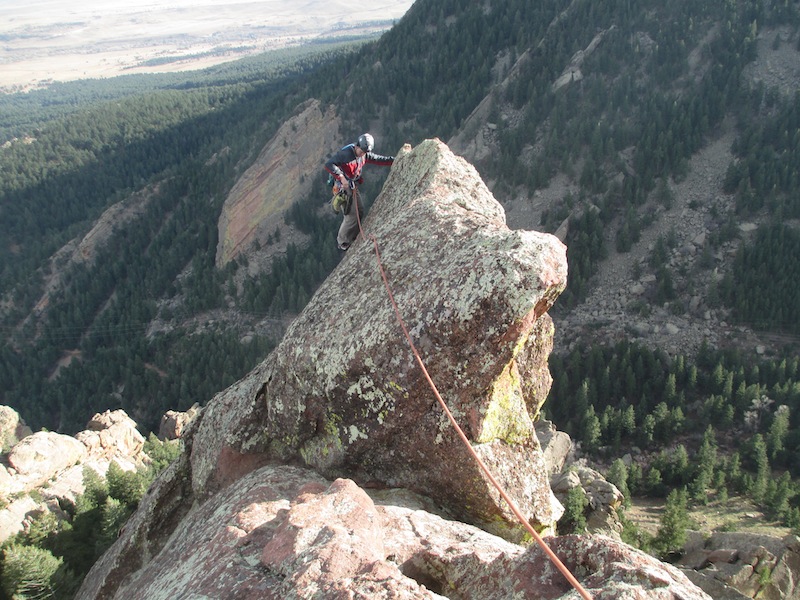
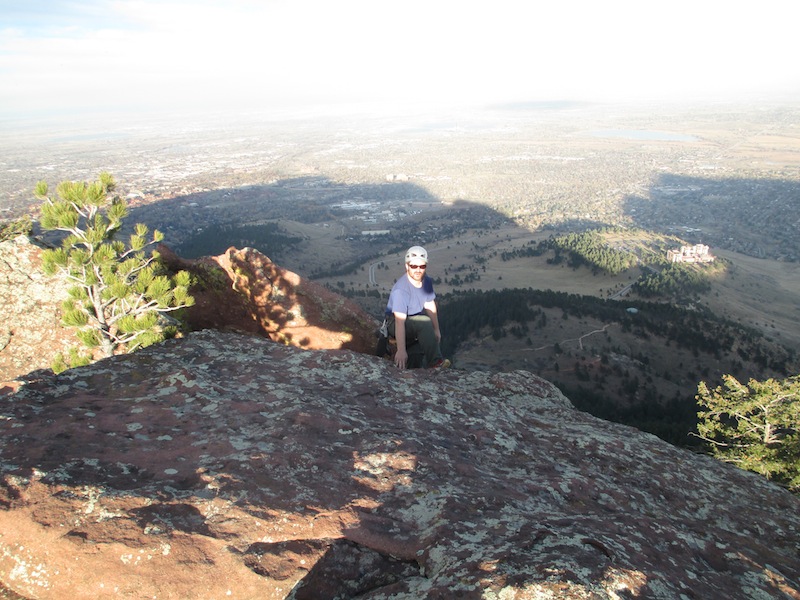
P3 - 5.2 - Make a few steep moves up to the north to arrive abruptly at an elegant knife-edge. Make a sharp hand traverse until you arrive at the small summit. Protect your second as much as you can on this one! This is one of the finest spots in the Flatirons. 100'
Descent: A small threaded tunnel allows you to rappel west and then north to arrive at a ledge between Fi and Fo. The gully between Fi and Fo is not hikeable to the east so you must enter the Fumbledeedum gully to the east. Descend the gully to the south until it is possible to enter the Fee - Fi gully and escape to the west. It is also possible to head north in Fumbledeedum until you arrive at the Fum-Dum gully and escape from there.
Fo via Fumbledeedum to West Ridge
Approach: Hike the Mallory Cave trail up past the summit of the Finger Flatiron until Fi and Fo are visible above. Quadratic Equation is a great route that ascends the east face from here but that is not the topic for today. For the easiest route, head up the Fum - Dum gully (Dinosaur Mountain trail) until you gain the west side of the Fee-Fi-Fo-Fum stratum. This gully is Fumbledeedum. Descend Fumbledeedum until you are immediatly west of Fo.
Route: Scramble up the only weakness to arrive at the summit. 5.2 - 50'
Descent: Reverse the route.
Fum via West Face
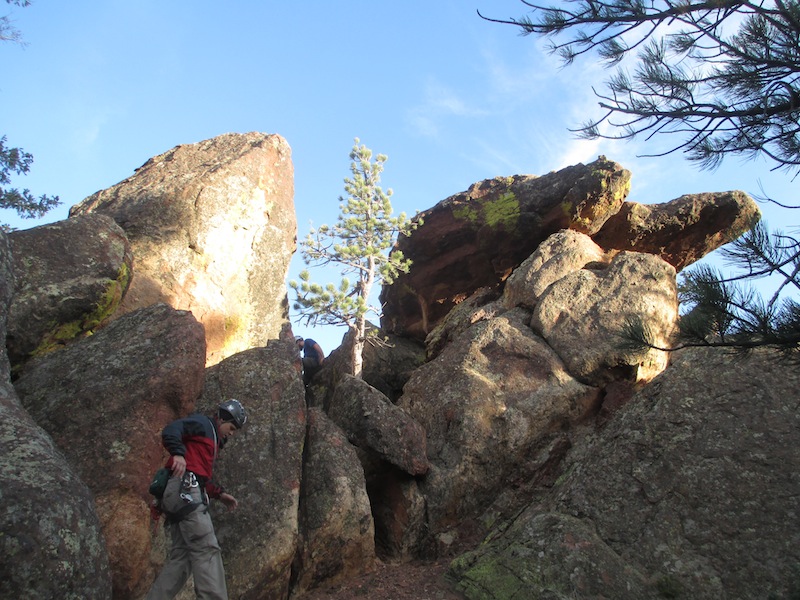
Approach: Hike the Mallory Cave trail up past the summit of the Finger Flatiron until Fi and Fo are visible above. Follow the Mallory Cave trail into the Fum - Dum Col. On the west side of Fum, there is a small slot that leads to easier terrain and the summit. There is usually a tree propped here.
Route: Climb the short tree/slot to gain class 3 terrain to the top. This is rated 5.3 but is scary and feels much harder, even with the tree. "5.3" - 150'
Descent: Reverse the route.
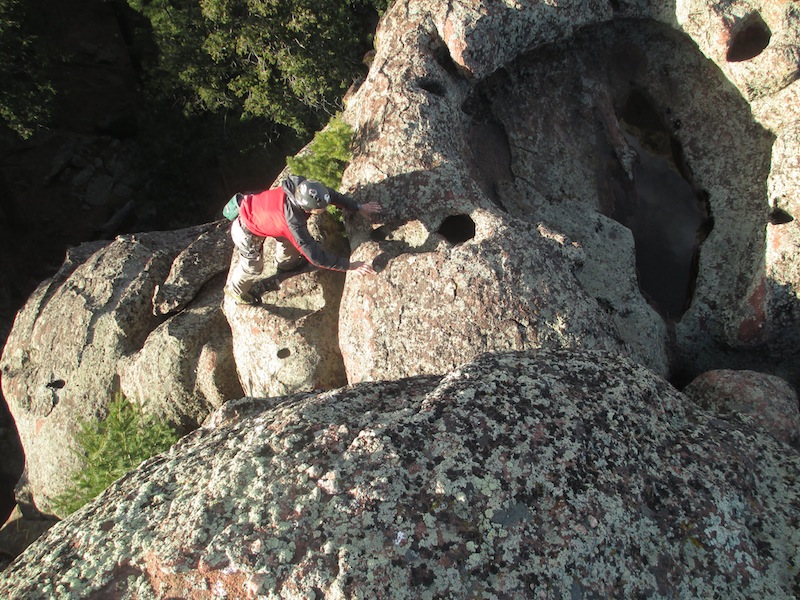
Dum via North Face
Approach: Hike the Mallory Cave trail up past the summit of the Finger Flatiron until Fi and Fo are visible above. Head up the Fum - Dum gully (Dinosaur Mountain trail) until you gain the west side of the Fee-Fi-Fo-Fum stratum. This gully is Fumbledeedum and will lead you north to the summit plateau on Dinosaur Mountain immediately to the west of Dum's unique balanced table rock summit.
Route: Scramble through a small tunnel toward Dum and stem up a narrow gap until you arrive on the awesome summit. Soak in the views. 4th class.
Descent: Reverse the route.
Square Rock via Tree Climb
Approach: Follow the Mallory Cave trail past the turnoff for Porch alley until it arrives at the base of Square Rock and the Babyhorn.
Route: Climb the tree on the NW corner until it's possible to gain the rock and make a final mantel onto the flat summit. 5.T - 25'
Descent: Either rappel from summit bolts or down-climb the tree.
Babyhorn via East Face
Approach: Same as for Square Rock. The Babyhorn is the smaller boulder immediately to the west of Square Rock.
Route: Scramble directly up the east face to the small summit. There is a single bolt/ring on top. 5.0-5.2 - 30'
Descent: Reverse the route.
The Hand via East Face
Approach: Continue up the Mallory Cave trail passing under Dinosaur Rock on the way. After the trail passes the Der Zerkle sport routes, the trail touches the base of the Hand. Be careful not to climb Der Freischutz instead as it also comes close to the trail.
Route:
P1 - 5.2 - Work directly upward following the path of least resistance. There is some lichen and friable rock in places so watch carefully. Work out a poor belay on a ledge after a full rope-length. Protection is quite poor on this pitch. 195'
P2 - 5.4 - Climb the steep headwall above on small, yet positive holds and arrive at a ledge at the base of a large chimney splitting the formation. Walk right to the far northern edge of the ledge until it is possible to look down into the Mallory Cave amphitheater. Make one move of 5.4 that will seem easier than the headwall below, and belay on another ledge right against the chimney. 120'
P3 - 5.2 - Step across the chimney while being careful not to fall in. Traverse left until easier rock leads upward to the summit. 140'
Descent: Walk off to the north into the gully between the Hand and the Shark's Fin. Locate a tight hole aptly named "Fat Man's Frenzy" and worm through to gain the gully below. Scramble through a slot to the west until it is possible to hike up and around the Finger Flatiron and regain the Mallory Cave trail. "Fat Man's Frenzy" can be avoided by climbing over to the Shark's Fin, but this is licheny 5th class.
Shark's Fin via South Face
Approach: Easiest way is to climb the Hand as the normal routes are now under an indefinite closure due to their proximity to Mallory Cave. It is possible to reverse the descent from the Hand to reach the gully between the Shark's Fin and the Finger Flatiron but this still requires some climbing.
Route:
P1 - 5.4S - From the saddle between the Hand and the Shark's Fin, climb a poorly protected lichen "chimney" for about 20' and find whatever seems best to gain a large tree to the south of the summit block. I did an exposed and run-out traverse than circumnavigated a large boulder to gain the tree. The rope drag was terrible and I do not recommend it. 50'
"P2" - 5.0 - Un-rope at the tree and solo up a short corner to gain a final ledge on the south face of the summit block. Walk east to the end of the ledge and climb up a short vertical wall to gain the east face immediately below the summit. A few more exposed moves deposit you on the tiny summit. 100'
Descent: Reverse your route to the last ledge. It is not possible to walk off to the north, then scramble west through the same slot as for the Hand's descent. Hike up and around the Finger Flatiron and regain the Mallory Cave trail.
Fee via North Ridge
Approach: Hike the Mallory Cave trail up past the summit of the Finger Flatiron until Fi and Fo are visible above. Descend the gully passing Fo and Fi until the small summit of Fee is in view.
Route: Scramble to the notch to the north of the summit. The exposure here is surprising! Scramble the exposed knife-edge south to the summit. 5.0 - 30'
Descent: Reverse the route.
Fi via Fi Fun
Approach: Hike the Mallory Cave trail up past the summit of the Finger Flatiron until Fi and Fo are visible above. Descend past Fo to the toe of Fi.
Route:
P1 - 5.0 - From the low point of the rock. Sail up easy terrain and belay from a tiny tree near the south edge. 100'
P2 - 5.3 - Continue up the run-out face above following the path of least resistance. The pro is sparse and the holds are small, but the low angle of the rock invites upward progress. Eventually the angle eases more and belay at an alcove at the top of the southern edge. 130'
P3 - 5.2 - Make a few steep moves up to the north to arrive abruptly at an elegant knife-edge. Make a sharp hand traverse until you arrive at the small summit. Protect your second as much as you can on this one! This is one of the finest spots in the Flatirons. 100'
Descent: A small threaded tunnel allows you to rappel west and then north to arrive at a ledge between Fi and Fo. The gully between Fi and Fo is not hikeable to the east so you must enter the Fumbledeedum gully to the east. Descend the gully to the south until it is possible to enter the Fee - Fi gully and escape to the west. It is also possible to head north in Fumbledeedum until you arrive at the Fum-Dum gully and escape from there.
Fo via Fumbledeedum to West Ridge
Approach: Hike the Mallory Cave trail up past the summit of the Finger Flatiron until Fi and Fo are visible above. Quadratic Equation is a great route that ascends the east face from here but that is not the topic for today. For the easiest route, head up the Fum - Dum gully (Dinosaur Mountain trail) until you gain the west side of the Fee-Fi-Fo-Fum stratum. This gully is Fumbledeedum. Descend Fumbledeedum until you are immediatly west of Fo.
Route: Scramble up the only weakness to arrive at the summit. 5.2 - 50'
Descent: Reverse the route.
Fum via West Face
Approach: Hike the Mallory Cave trail up past the summit of the Finger Flatiron until Fi and Fo are visible above. Follow the Mallory Cave trail into the Fum - Dum Col. On the west side of Fum, there is a small slot that leads to easier terrain and the summit. There is usually a tree propped here.
Route: Climb the short tree/slot to gain class 3 terrain to the top. This is rated 5.3 but is scary and feels much harder, even with the tree. "5.3" - 150'
Descent: Reverse the route.
Dum via North Face
Approach: Hike the Mallory Cave trail up past the summit of the Finger Flatiron until Fi and Fo are visible above. Head up the Fum - Dum gully (Dinosaur Mountain trail) until you gain the west side of the Fee-Fi-Fo-Fum stratum. This gully is Fumbledeedum and will lead you north to the summit plateau on Dinosaur Mountain immediately to the west of Dum's unique balanced table rock summit.
Route: Scramble through a small tunnel toward Dum and stem up a narrow gap until you arrive on the awesome summit. Soak in the views. 4th class.
Descent: Reverse the route.

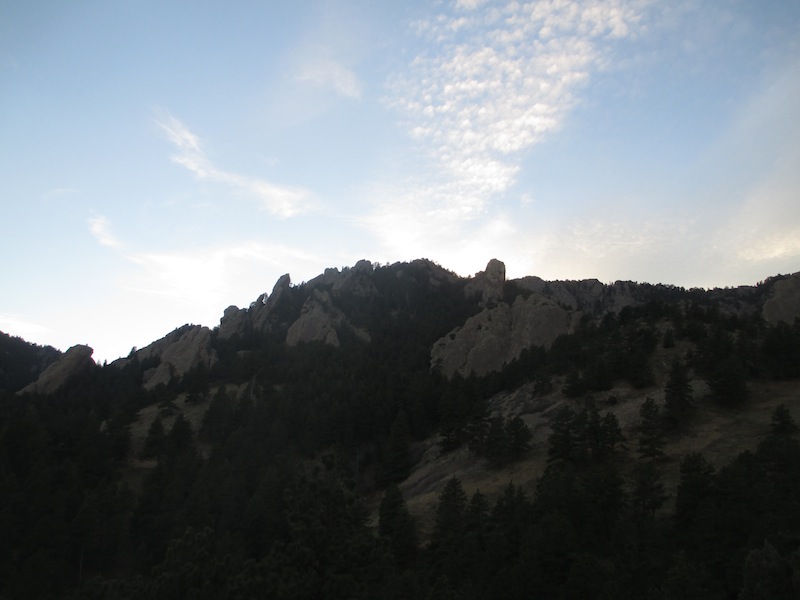
Our route