Big Rock Candy Mountain via "Tom's Route" (5.7S)
November 4, 2012
Crew: Mike Offerman, Pete Krzanowsky, Luke Plumley, Brian Crim
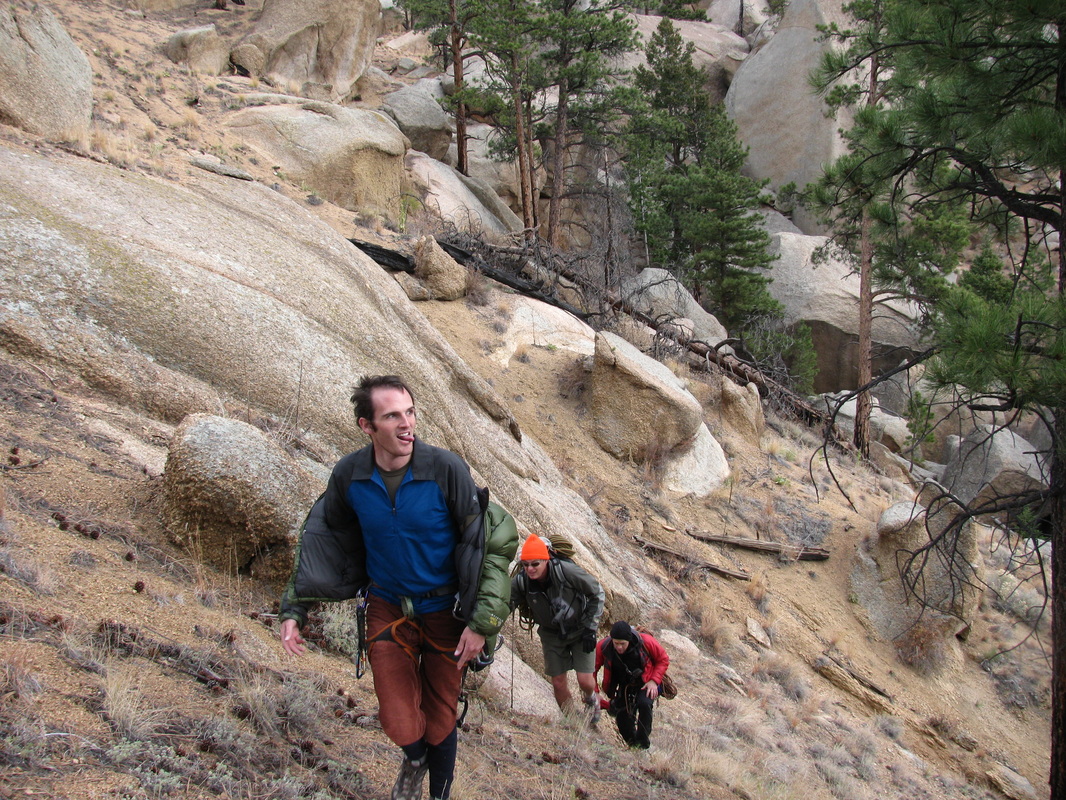
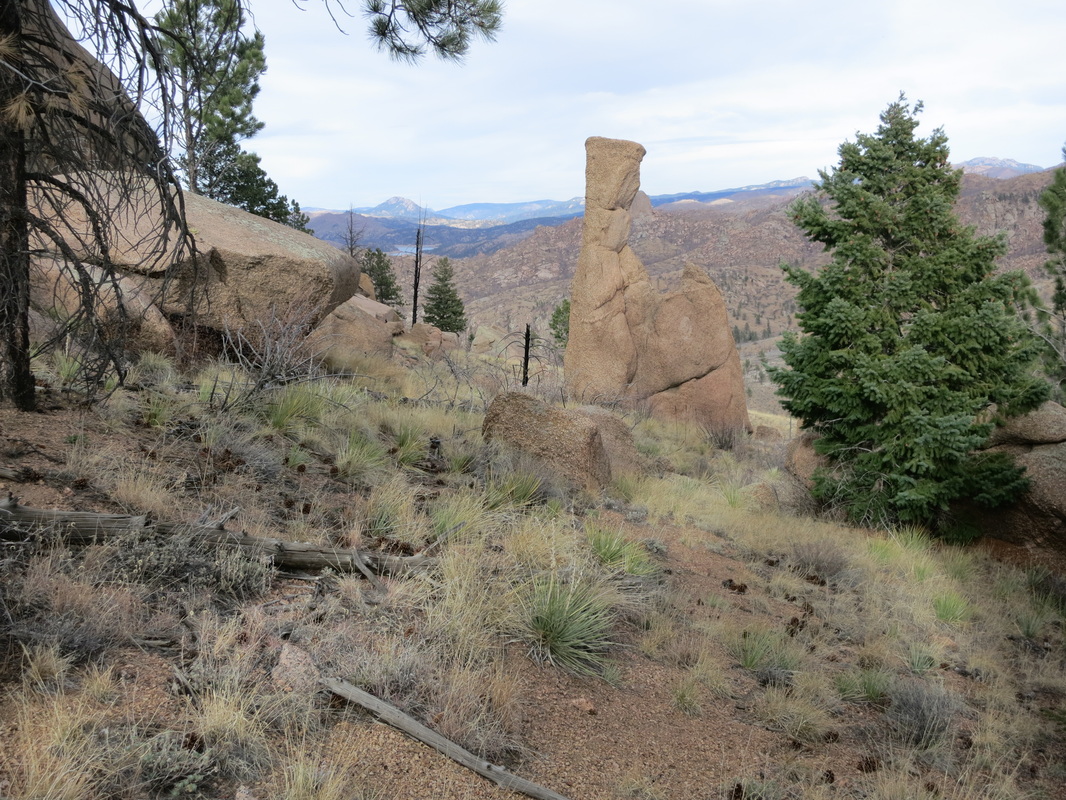
Overdue for another trip to the South Platte, we made plans for a trip to climb the seldom-visited Big Rock Candy Mountain. Pete and Tom had recently figured out a way to avoid the initial 5.9 offwidth pitches of the standard route, and we were excited to have an easier way up. This peak is one of the harder ranked summits to reach in the area and provides a fun route to a unique summit.
...
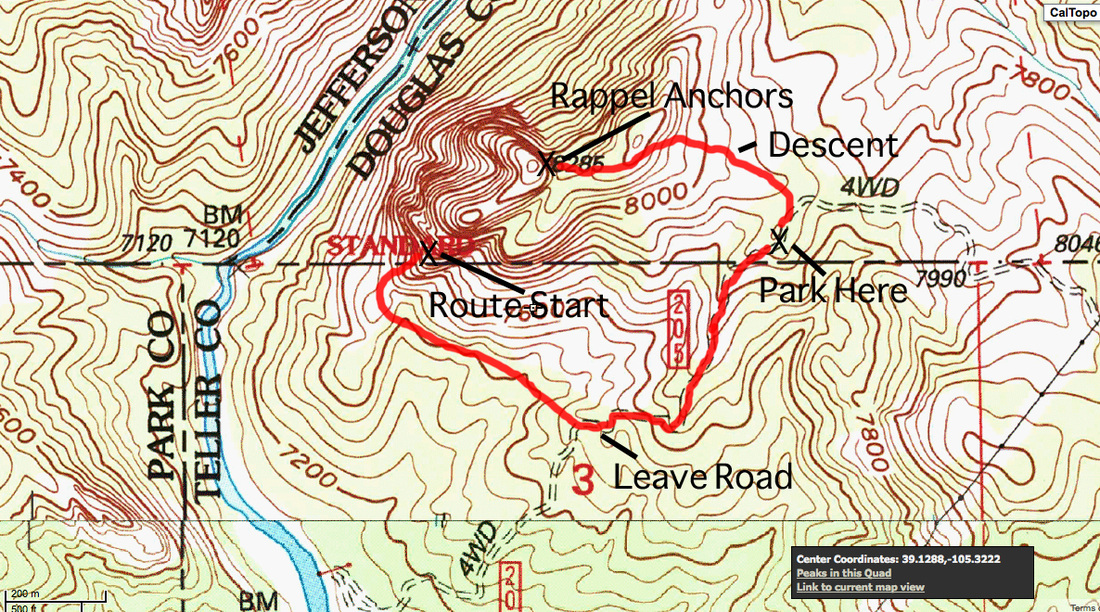
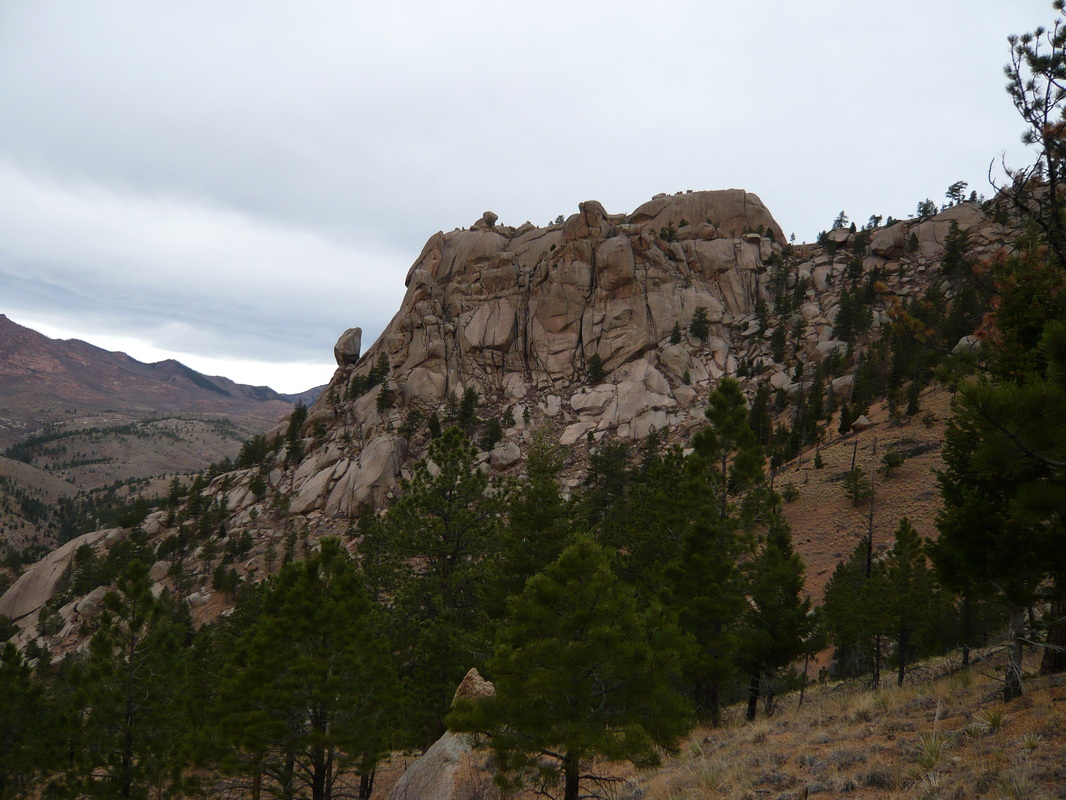
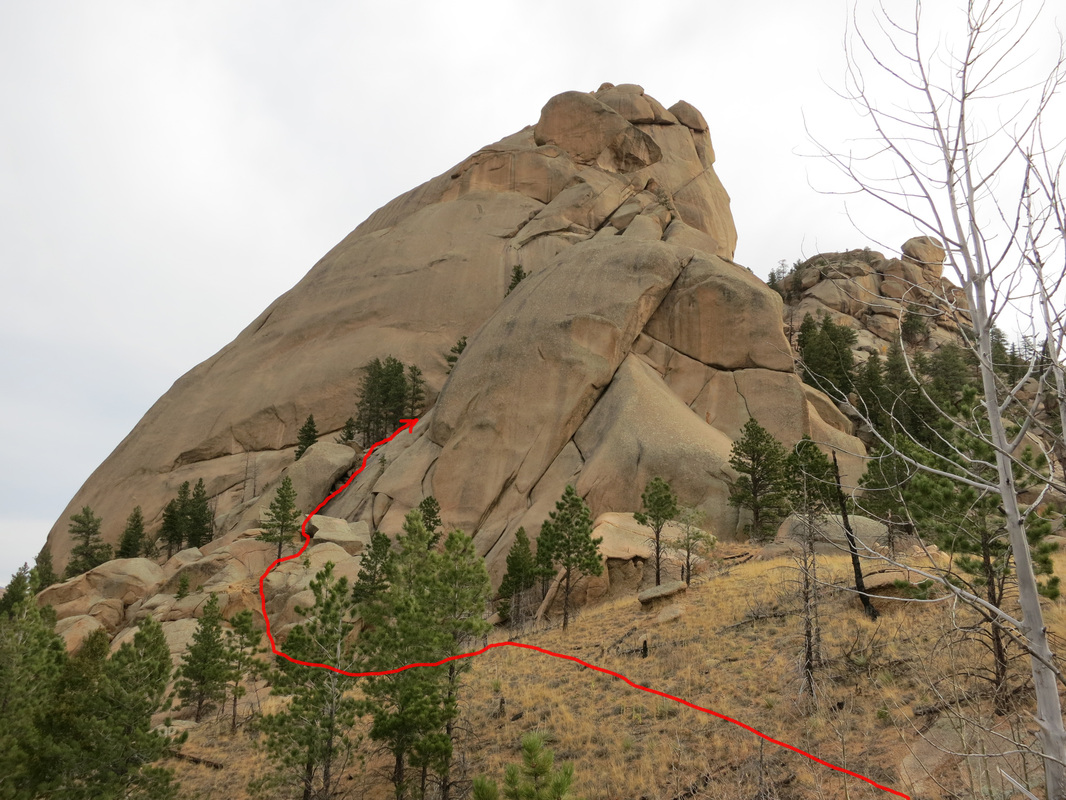
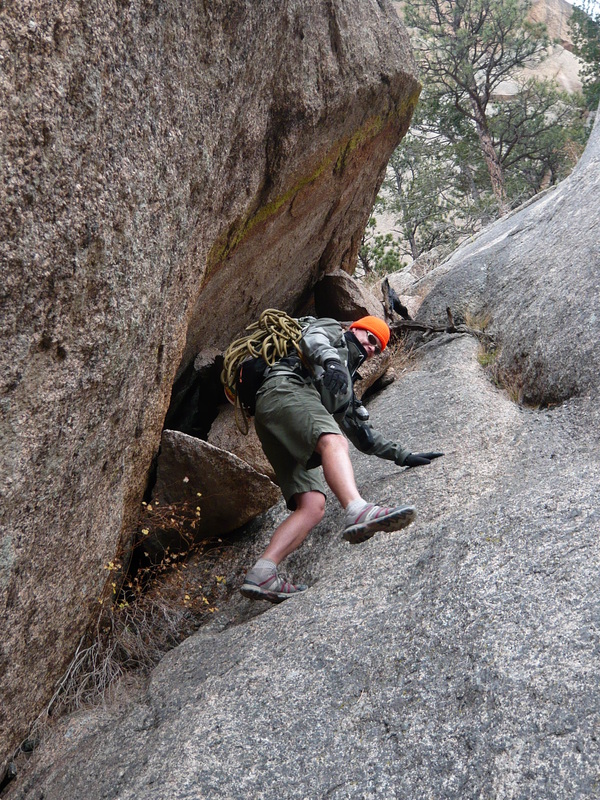
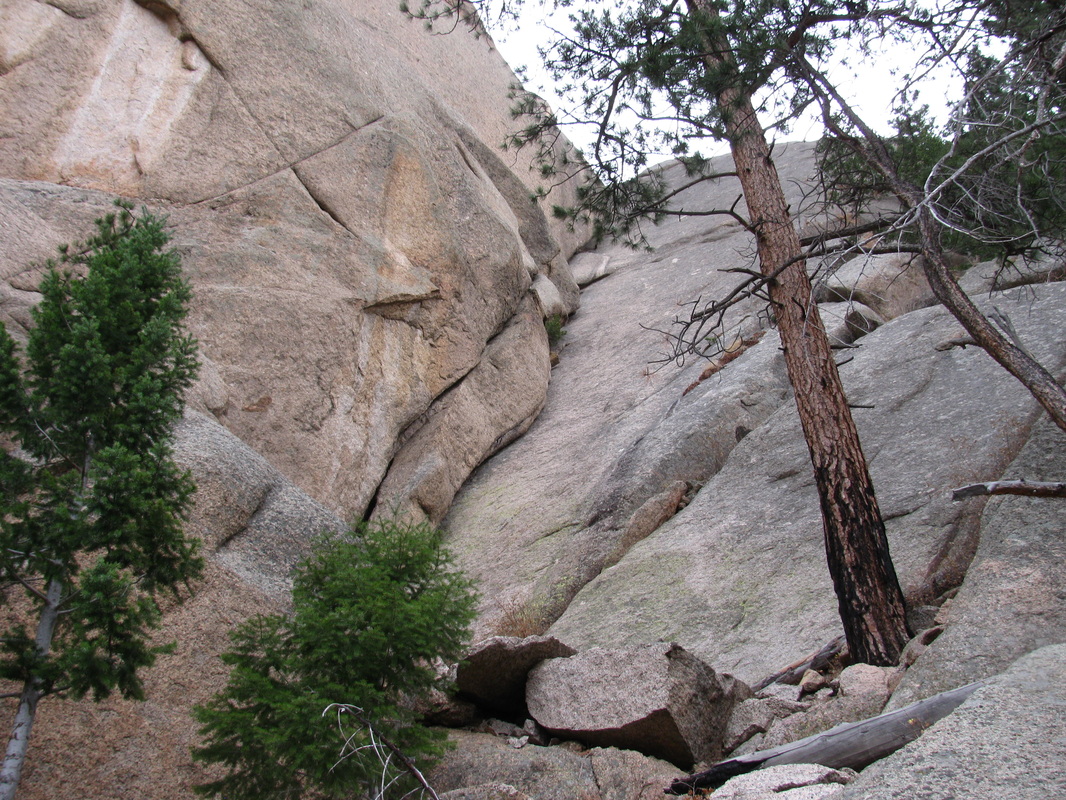
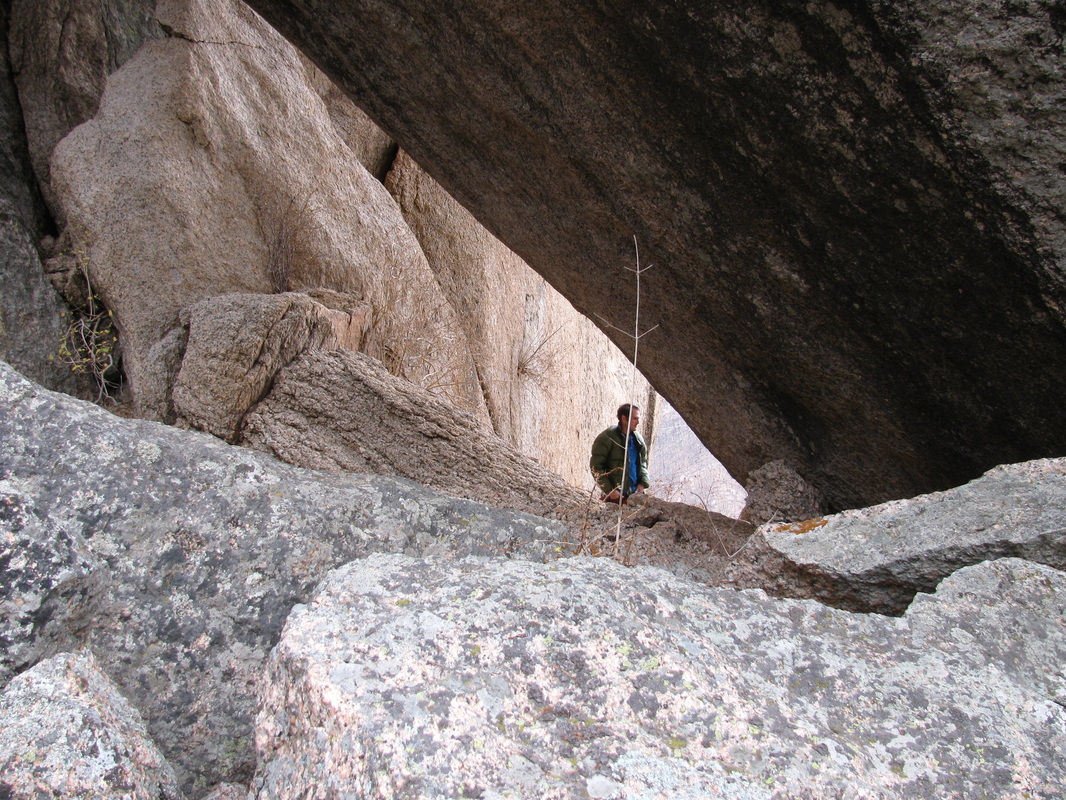
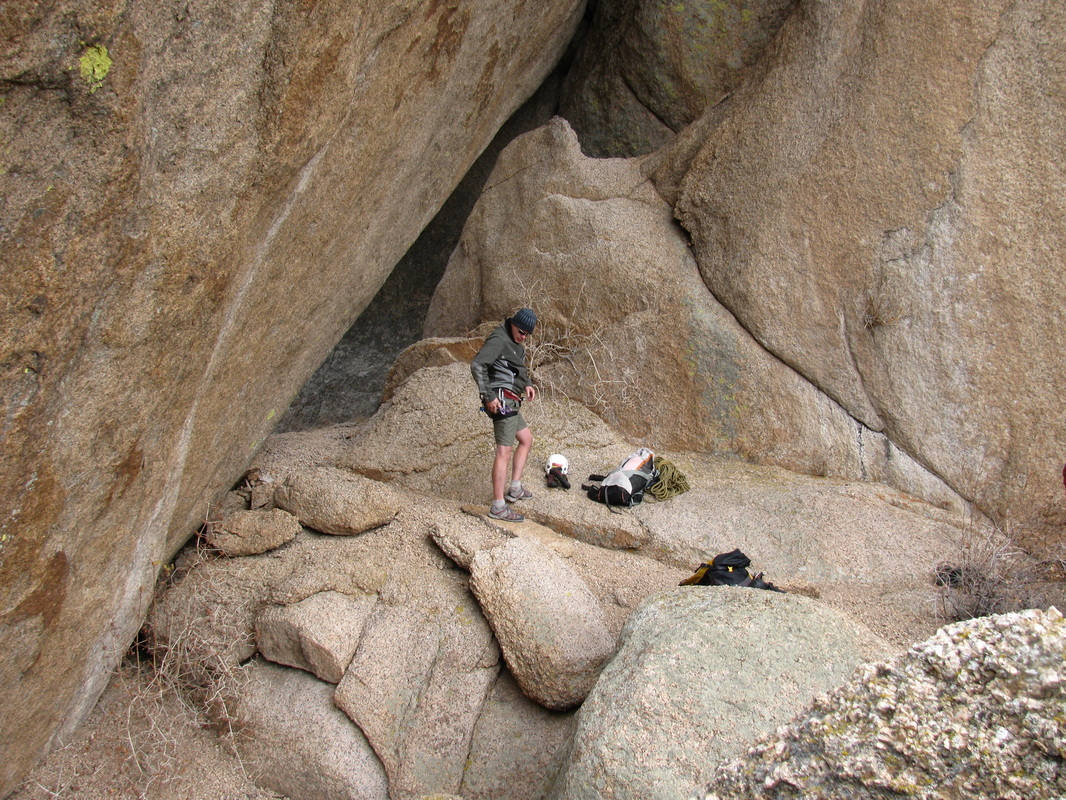
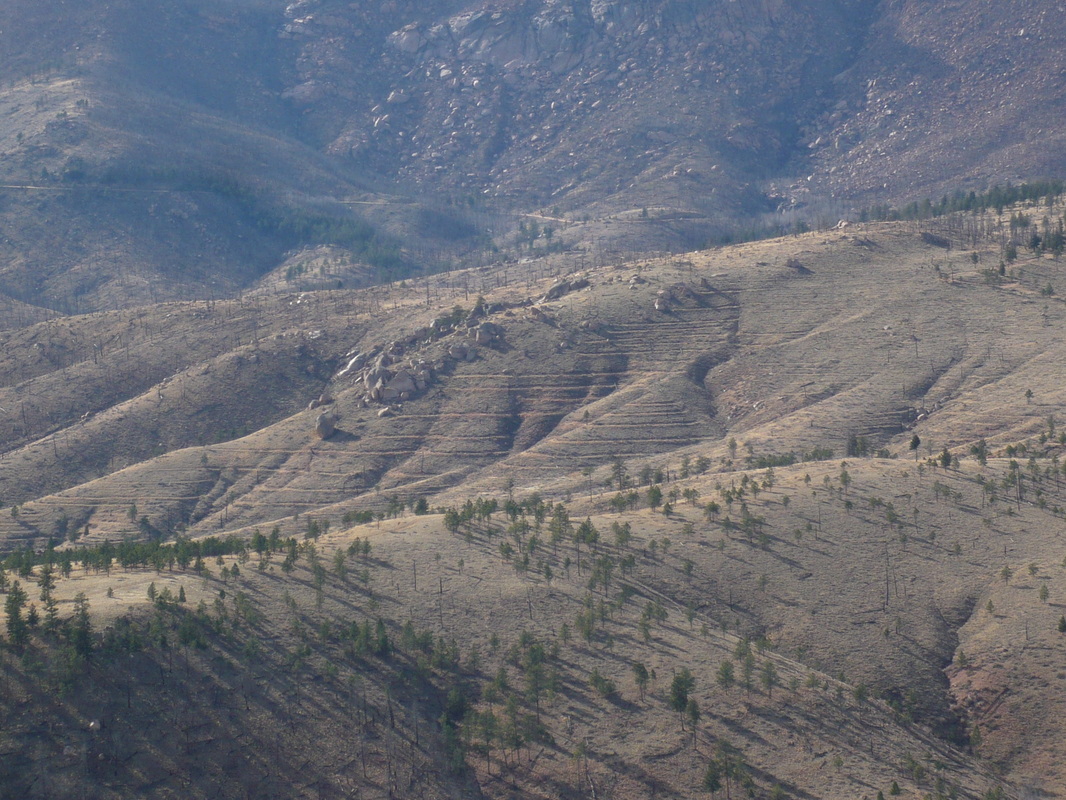
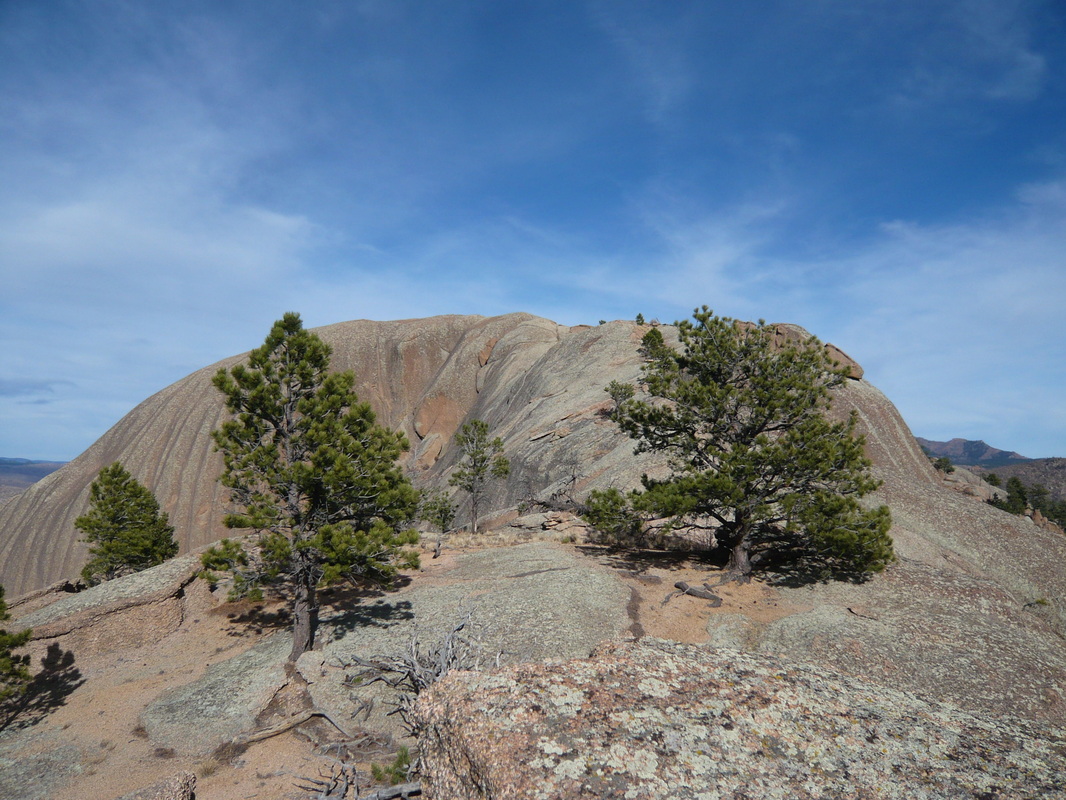
Approach: There are several ways to drive in and they are all very confusing. Choose your own and park as close to Big Rock Candy Mountain as you can. Mountain Project has a good description that can be found HERE. We drove in from the east and I marked where we parked on the map below. The route starts near the furthest western corner of the rock, so make your way toward it. Navigate up several gully systems until you arrive at the base of the "standard" Petered Out route (looks like this). Continue to work your way up a brushy class 4 gully system that leads just up and right of Petered Out. It will top out and end at a small saddle near a small tunnel in the rock. The first pitch starts here and works out the small disappearing ramp around the corner.
Route:
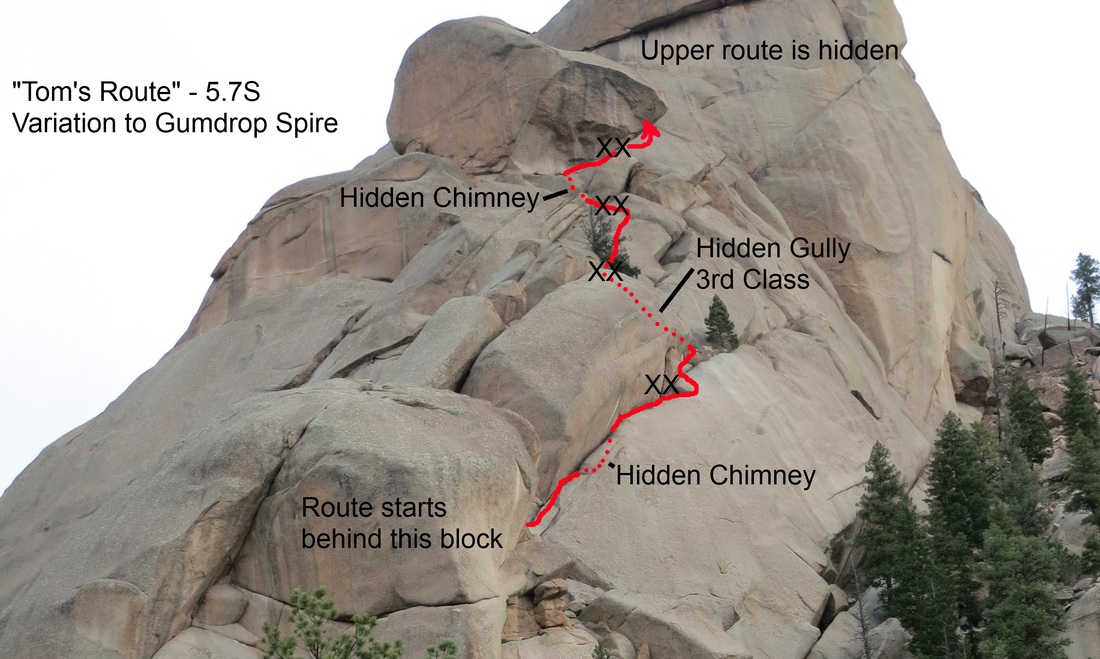
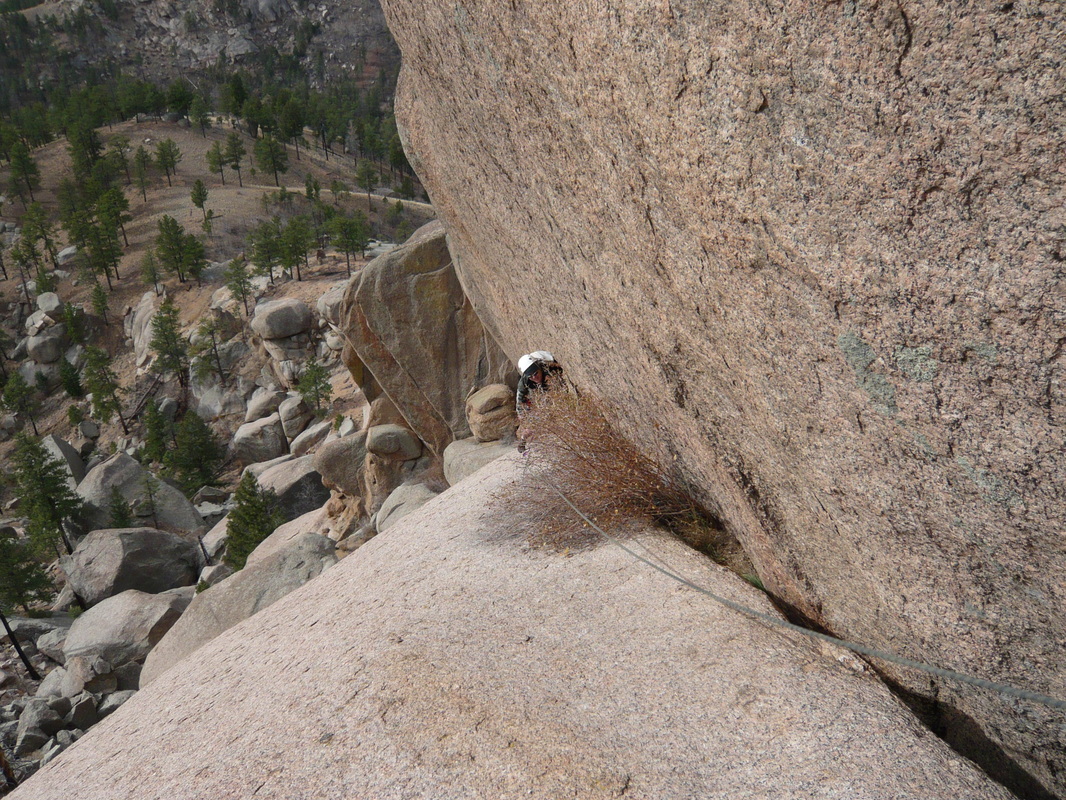
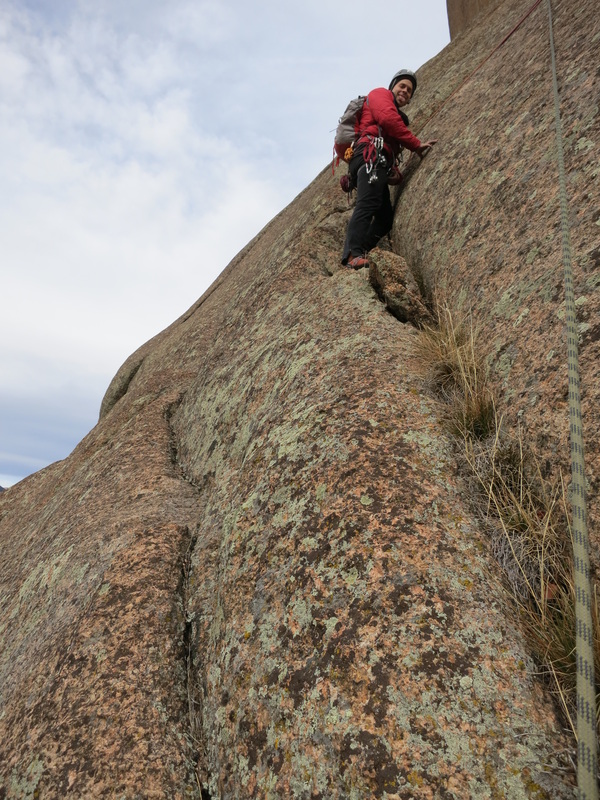
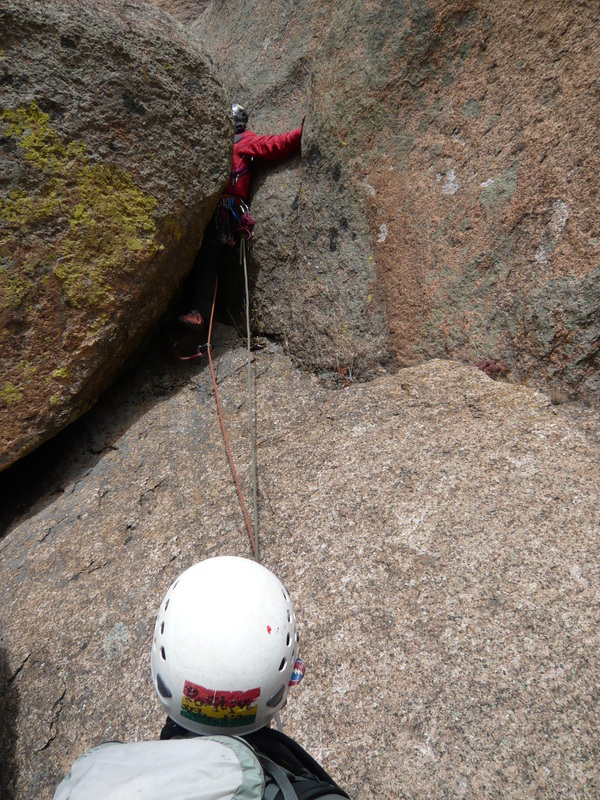
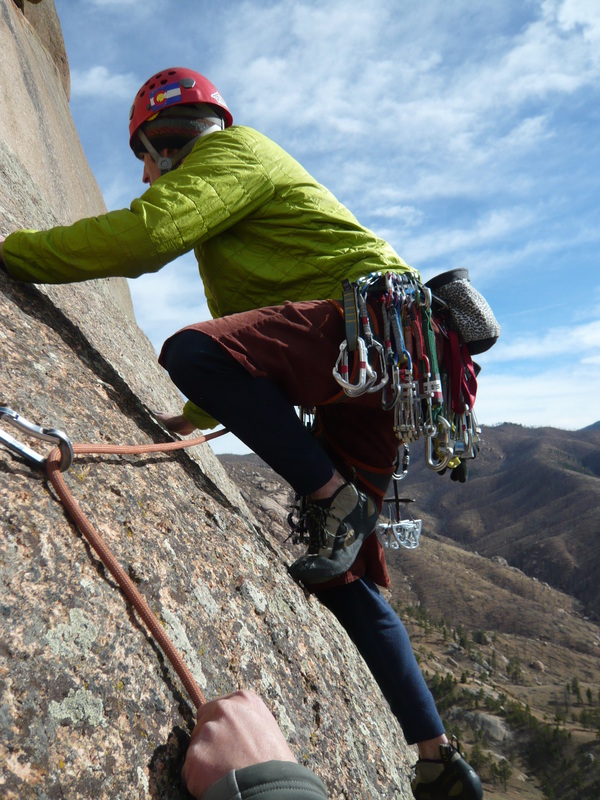
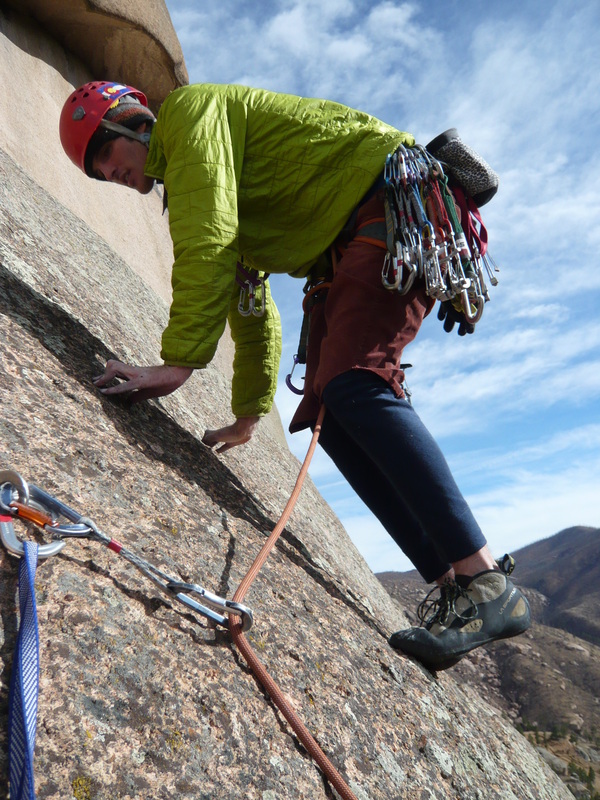
P1 - 5.7S - From the small belay ledge, make an easy but exposed rightward traverse to the corner about 25 feet out. Once at the corner, plug a large cam
and work your way up by jamming the crack in the corner. You will soon find yourself in a small chimney that might be protected with a BIG
cam (i.e. #5 or 6). Squeeze up the chimney and step delicately out onto the slabs. Continue up until the angle eases and establish a belay in a
crack. Without big gear, this pitch is very runout and could potentially result in a ground fall from higher up. 120'
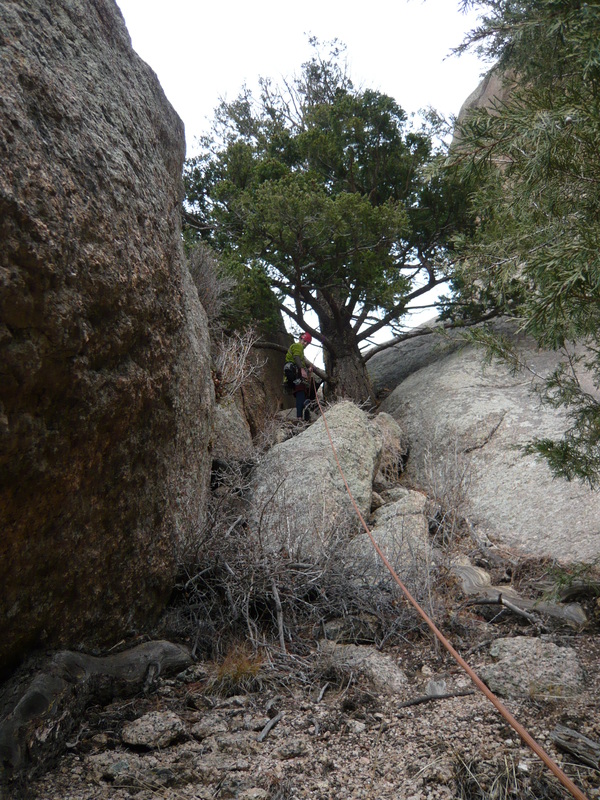
P2 - 5.6 - Continue to move up the slab, pass two small steps and arrive on a ledge with a tree (about 40'). Walk up the ledge and scramble up a gully on
your left to belay from a large, sap-covered tree. 180'
P3 - 5.7 - From the sappy tree step out onto the slabby face to your right. A thin crack leads slightly right to a tiny left-angling ledge. A few steps left
allows access to another thin rightward crack. Work up with thin pro to a cozy ledge below a short chimney. 100'
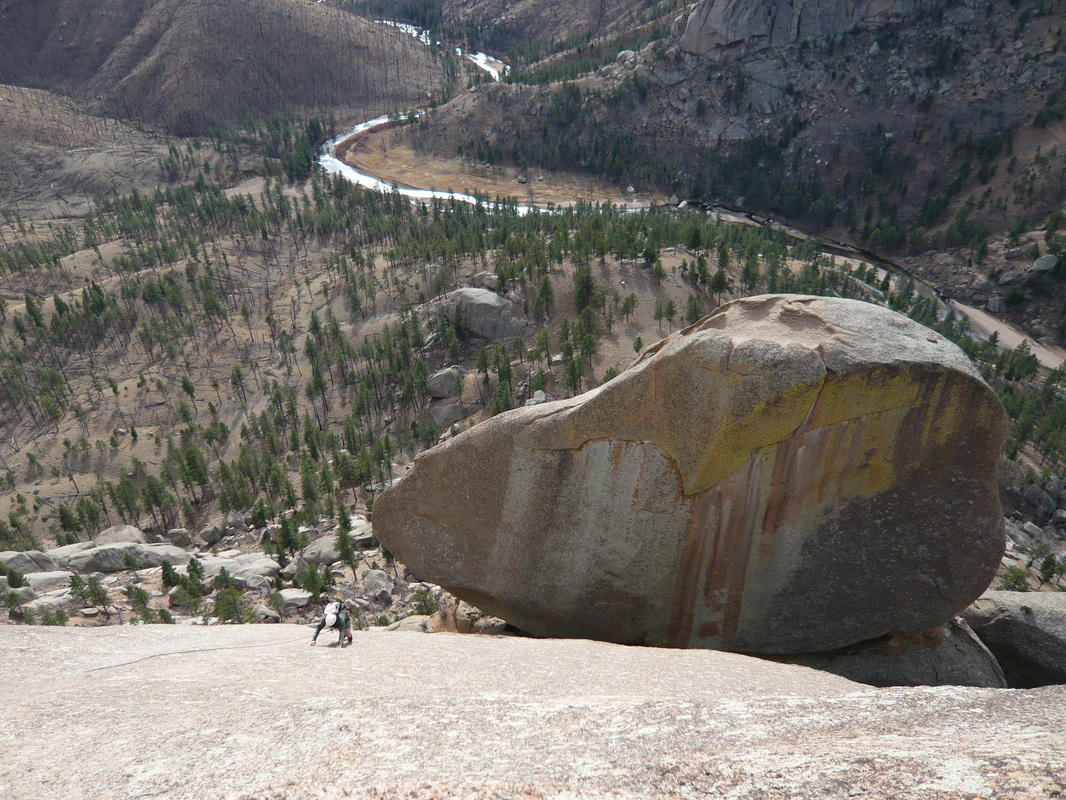
P4 - 5.7 - Squeeze up the short (about 20') chimney to a ledge. Walk around the Gumdrop and belay from the bolt on the Gumdrop that faces the slabs
above. It is tricky to see and it above your head. 150'
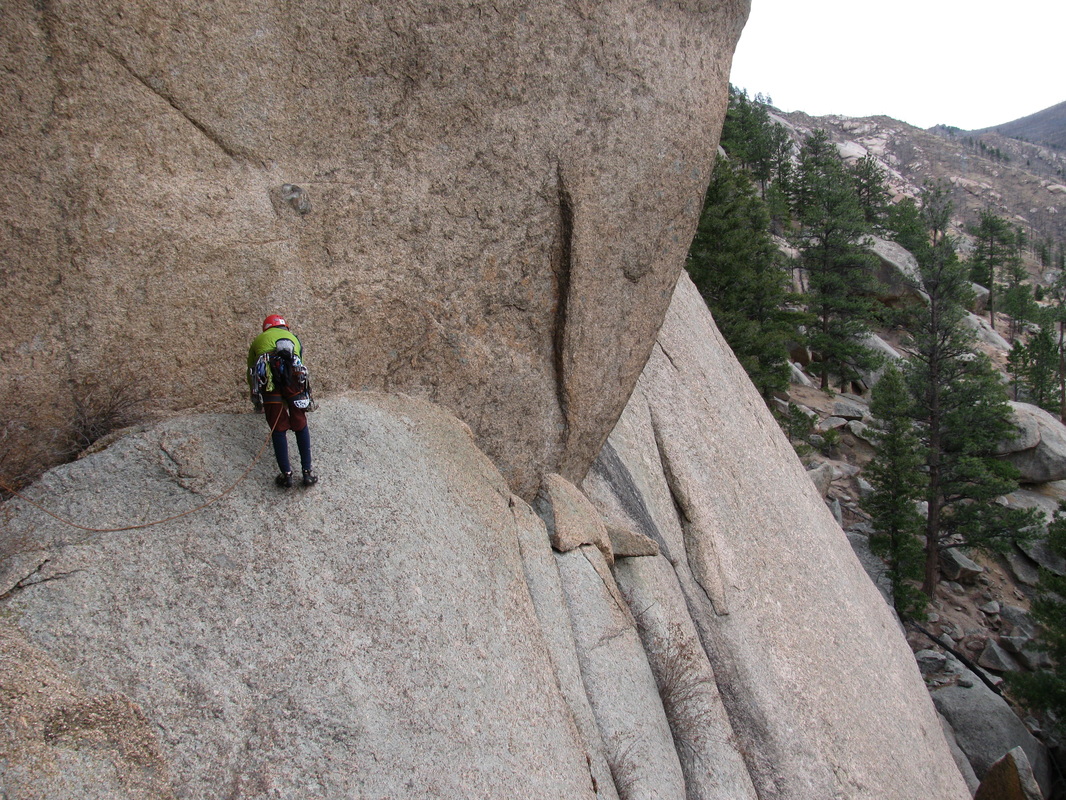
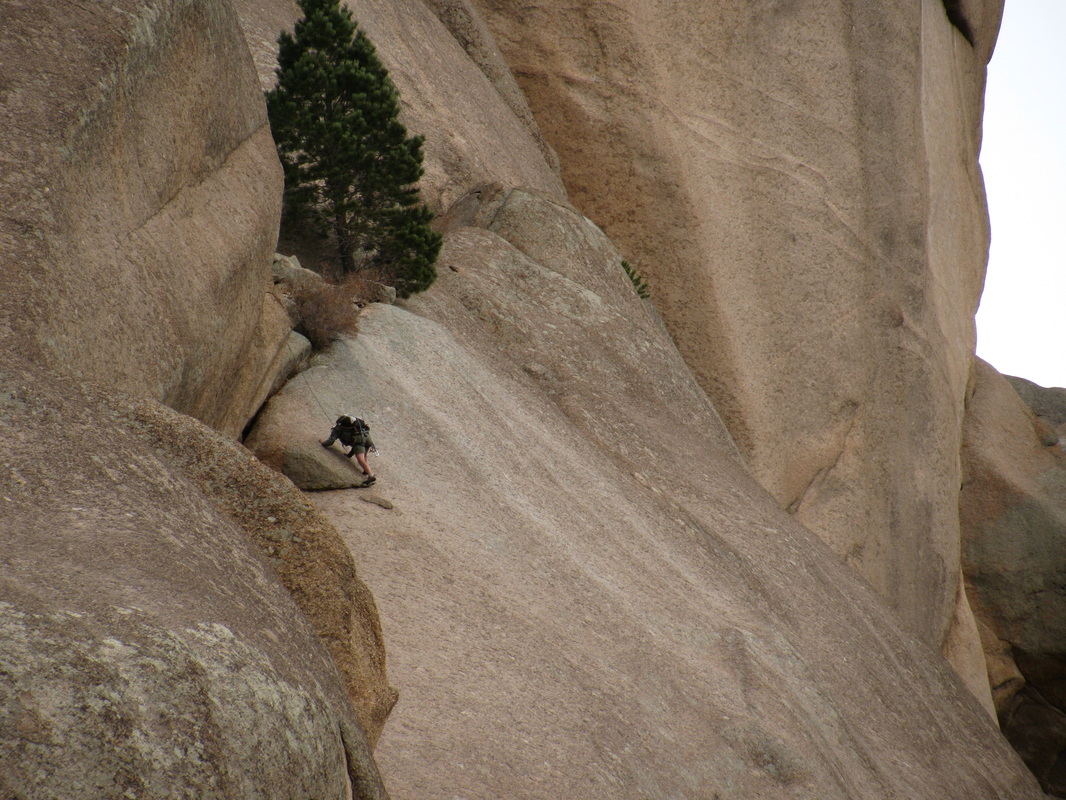
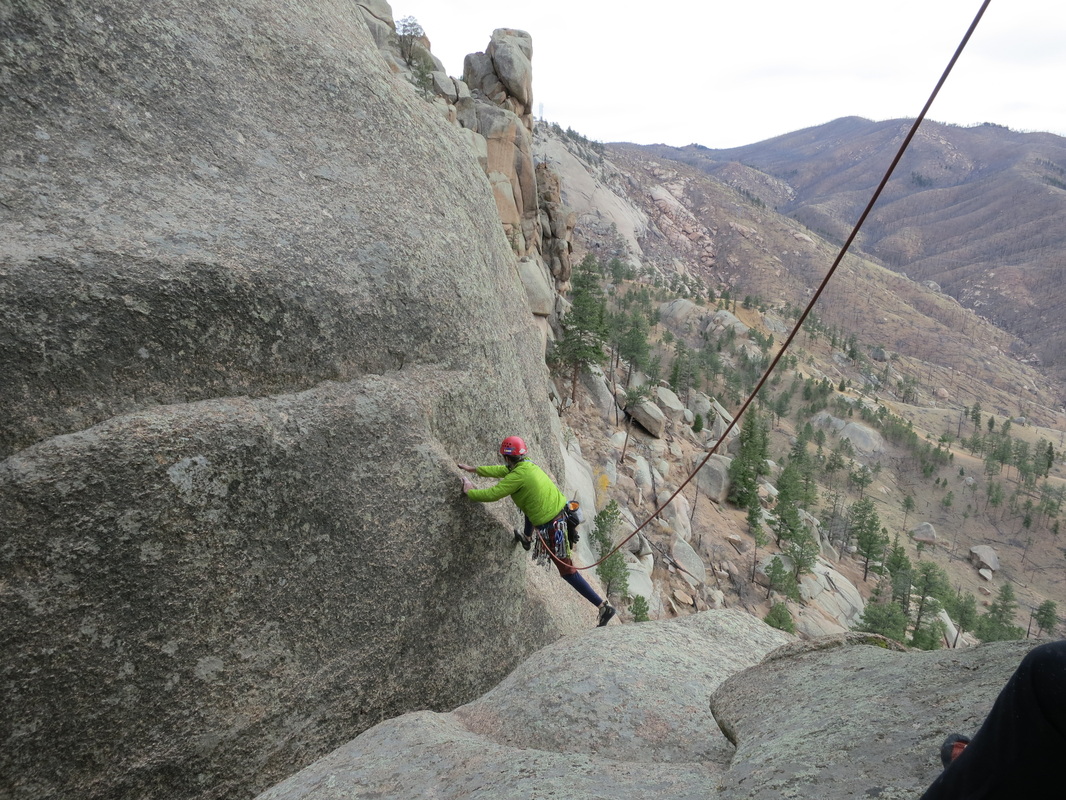
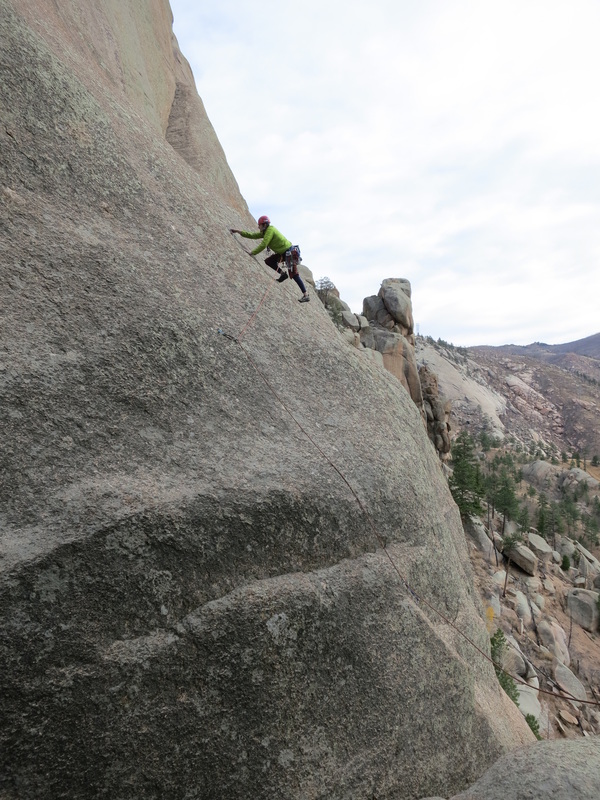
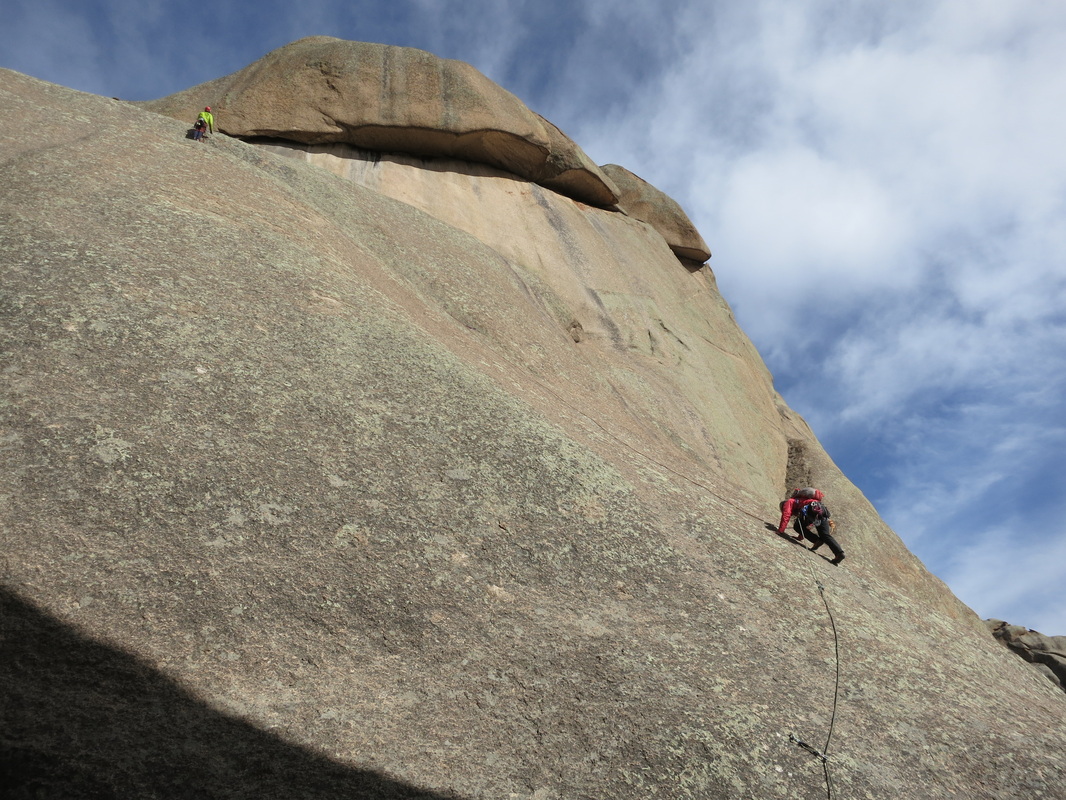
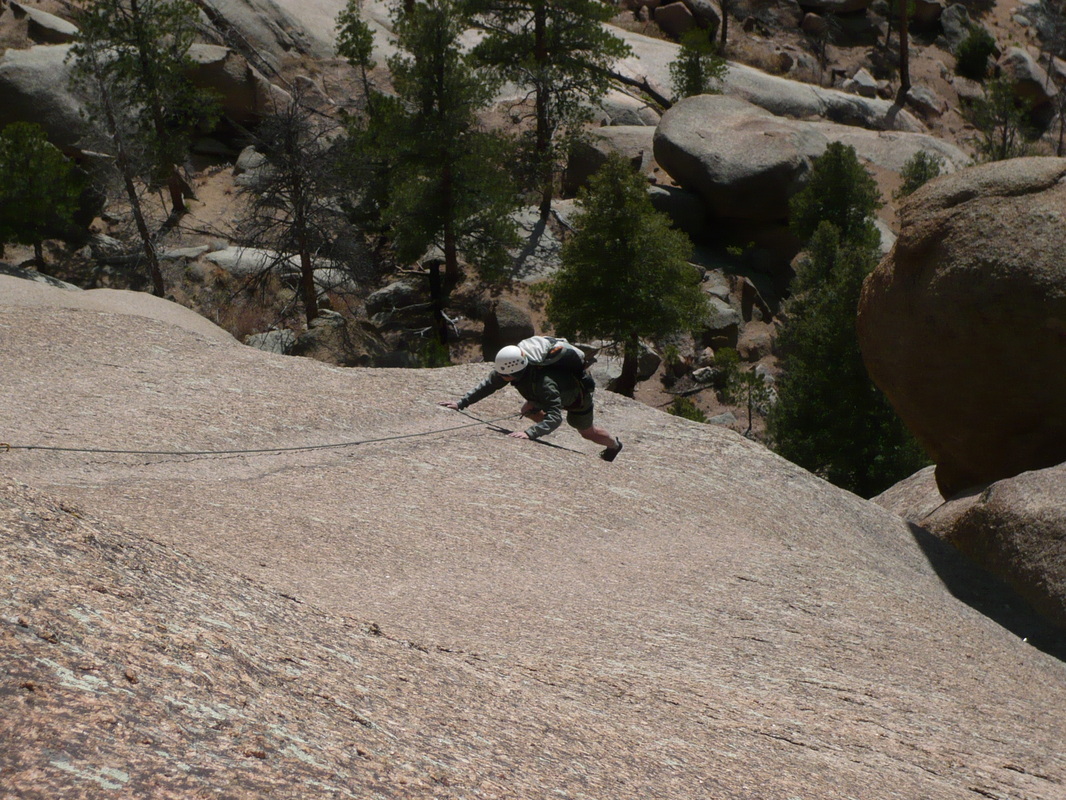
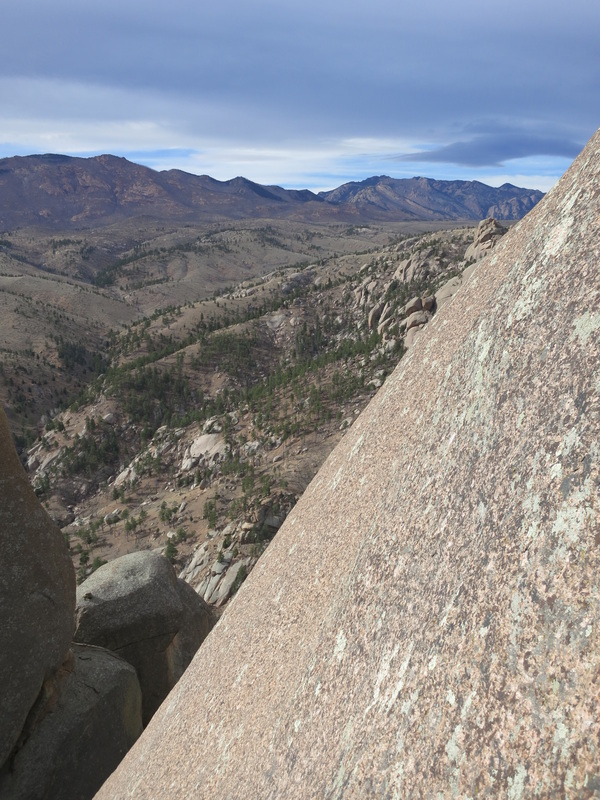
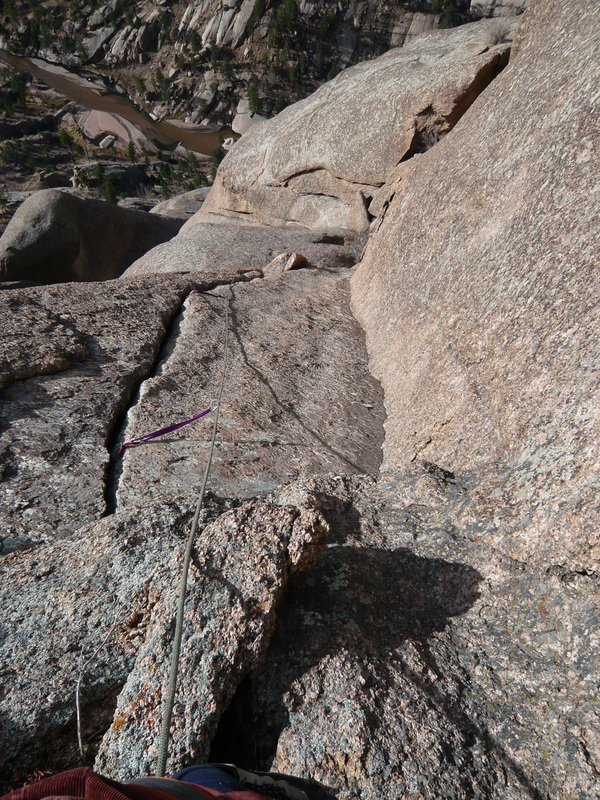
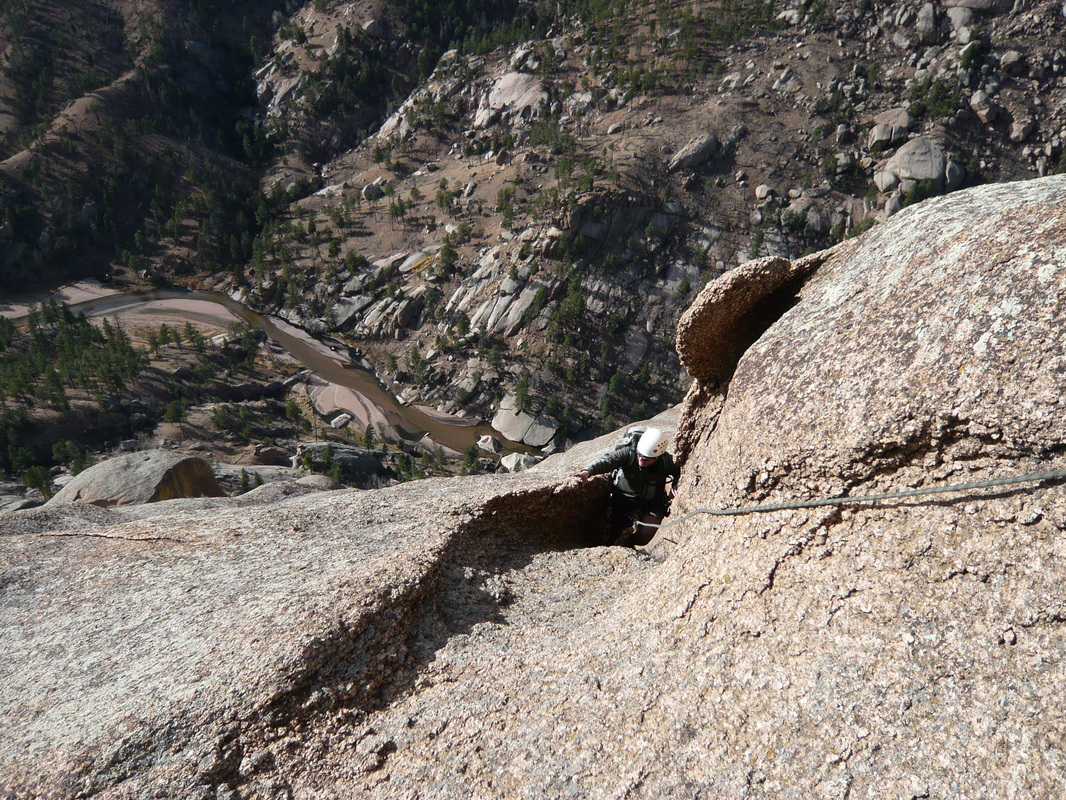
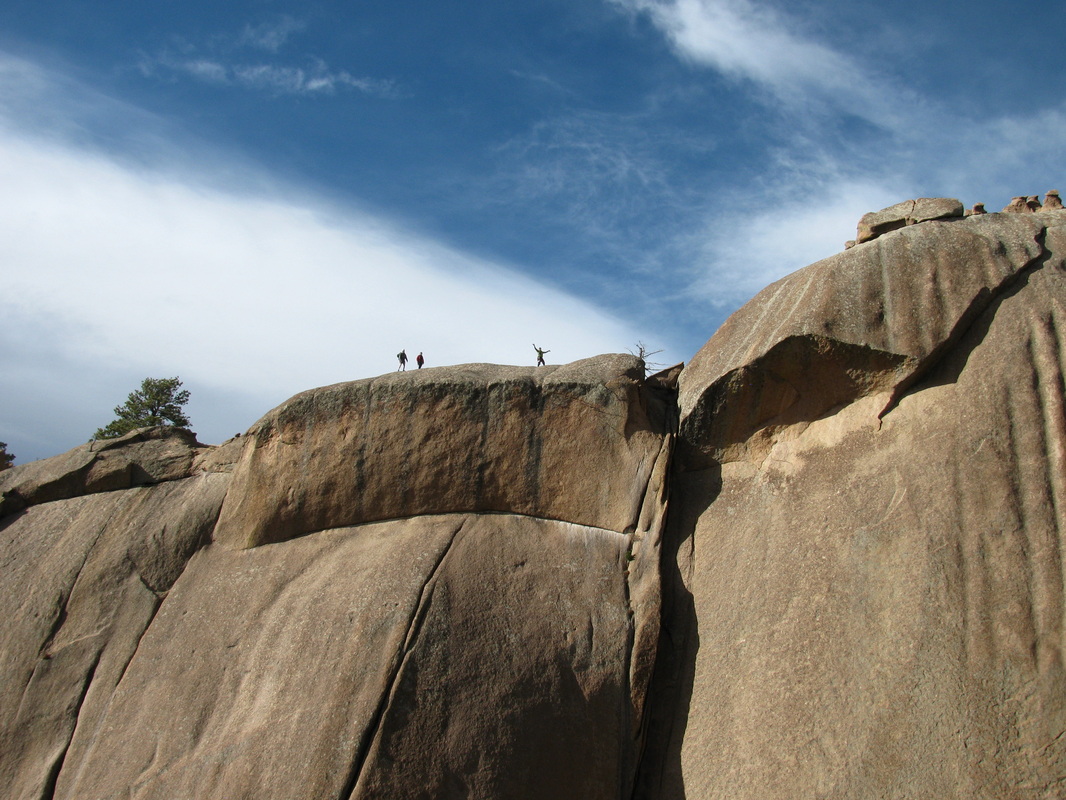
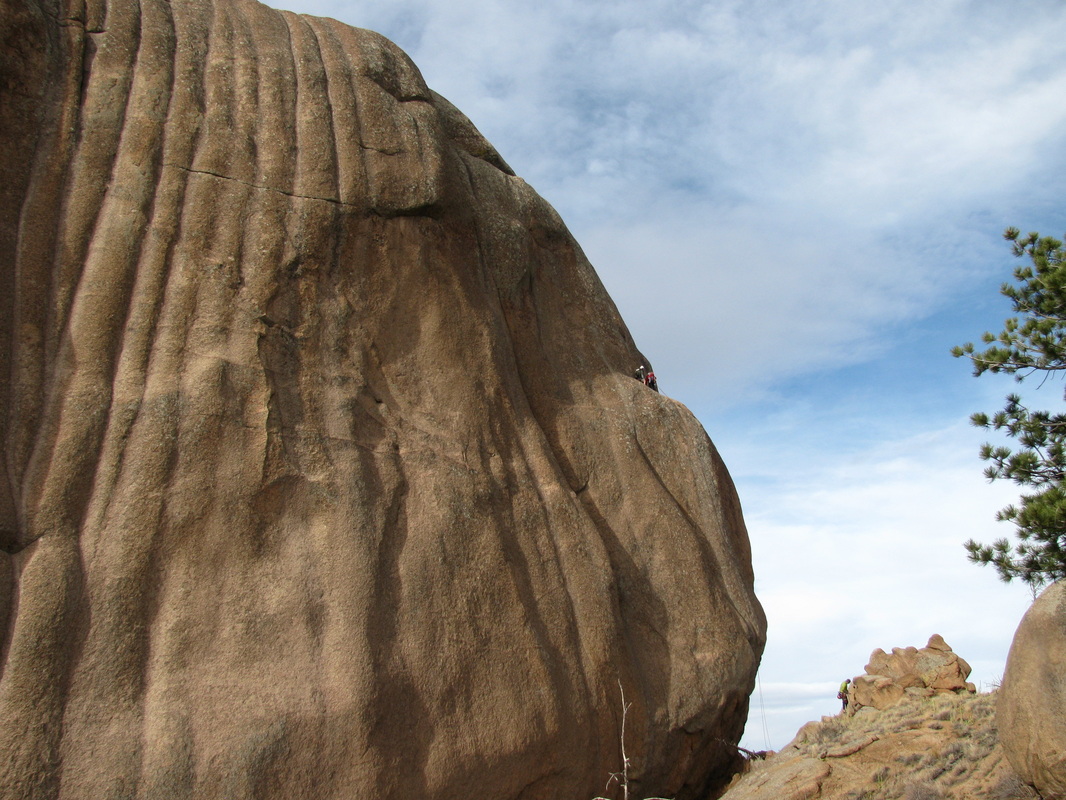
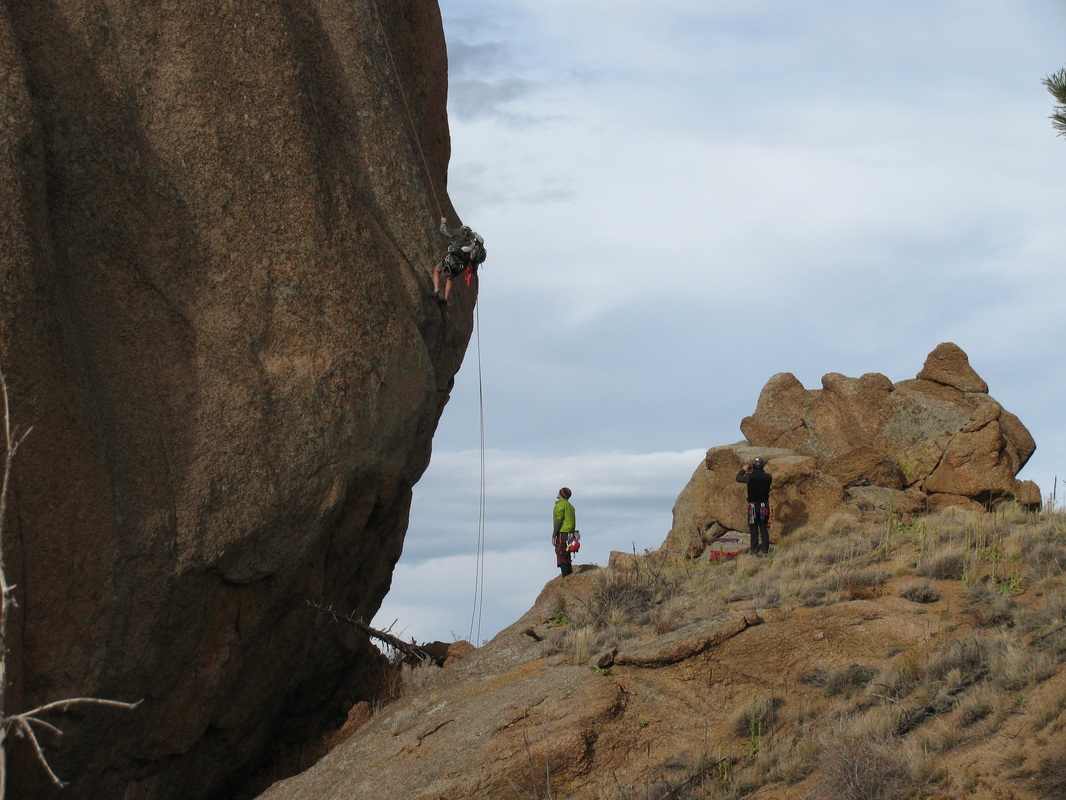
P5 - 5.7S - This is the money pitch of the route and it ascend the beautiful, immense and run-out slabs above you. Move toward the intimidating 3-4 foot
gap separating the ledge from the slabs on the other side. Toward the right side there is a weakness. Make a committing step across the gap
and establish yourself on the other side. Carefully move up and left until it is possible to move up and clip the bolt. Don't fall before getting to it,
there is zero protection between here and the belay. Gingerly friction up and right to the next bolt then straight up to the third one. Continue
to run it out to a crack, then follow easier rock along the crack hard left to a 2-bolt belay. Smile, this is friction climbing at its best. 170'
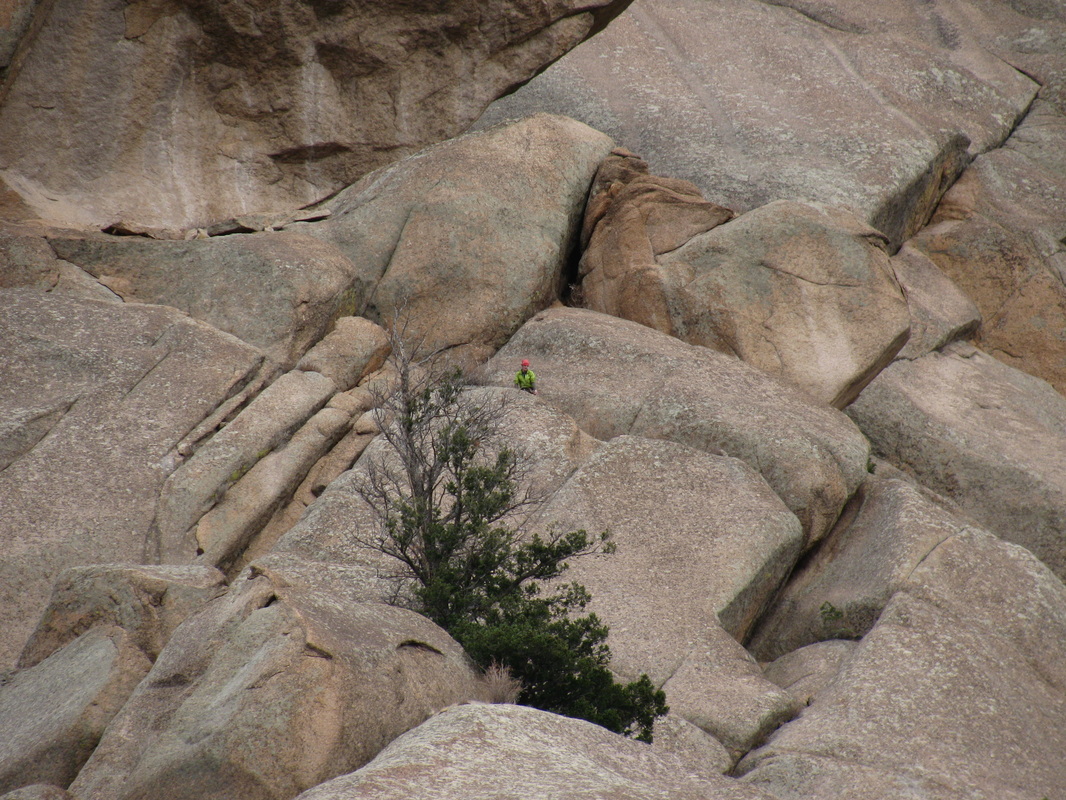
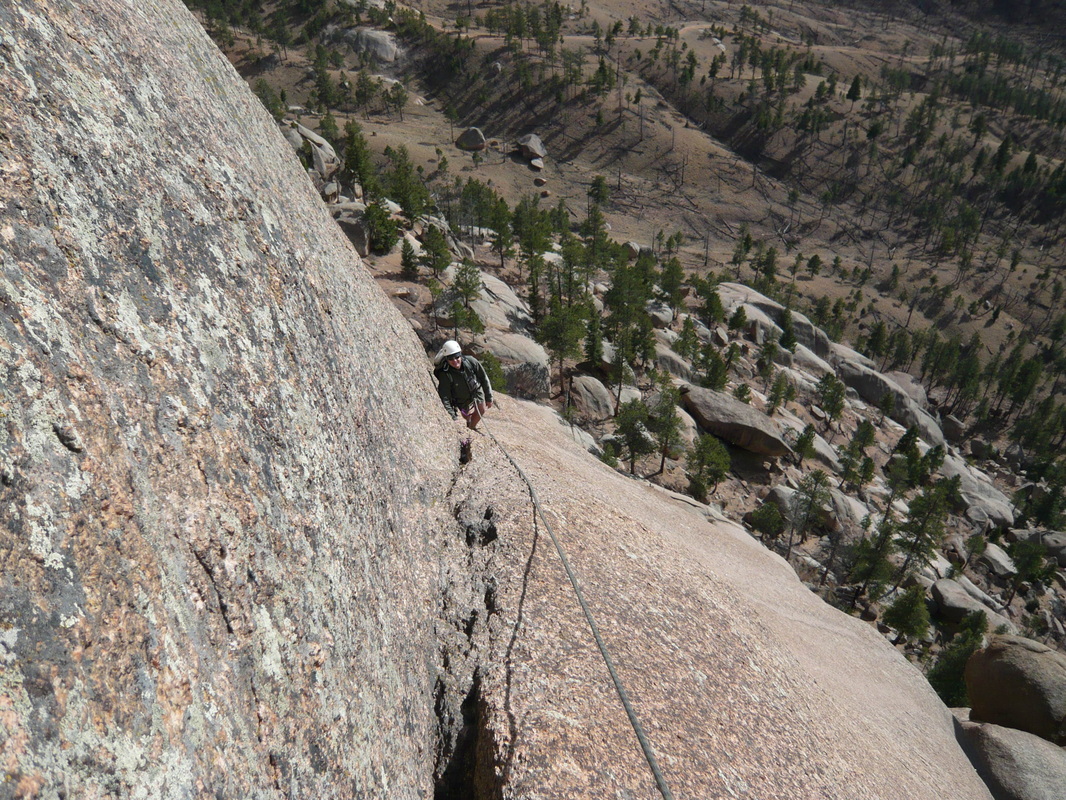
P6 - 5.7S - More friction! Make a few tricky moves right off the belay then friction up 15 feet to the first bolt. This is your only piece of pro for the next 60
feet or so. Friction straight up until it eases off and ends on a slight ledge. Follow easier terrain hard left to belay at a comfortable alcove. 120'
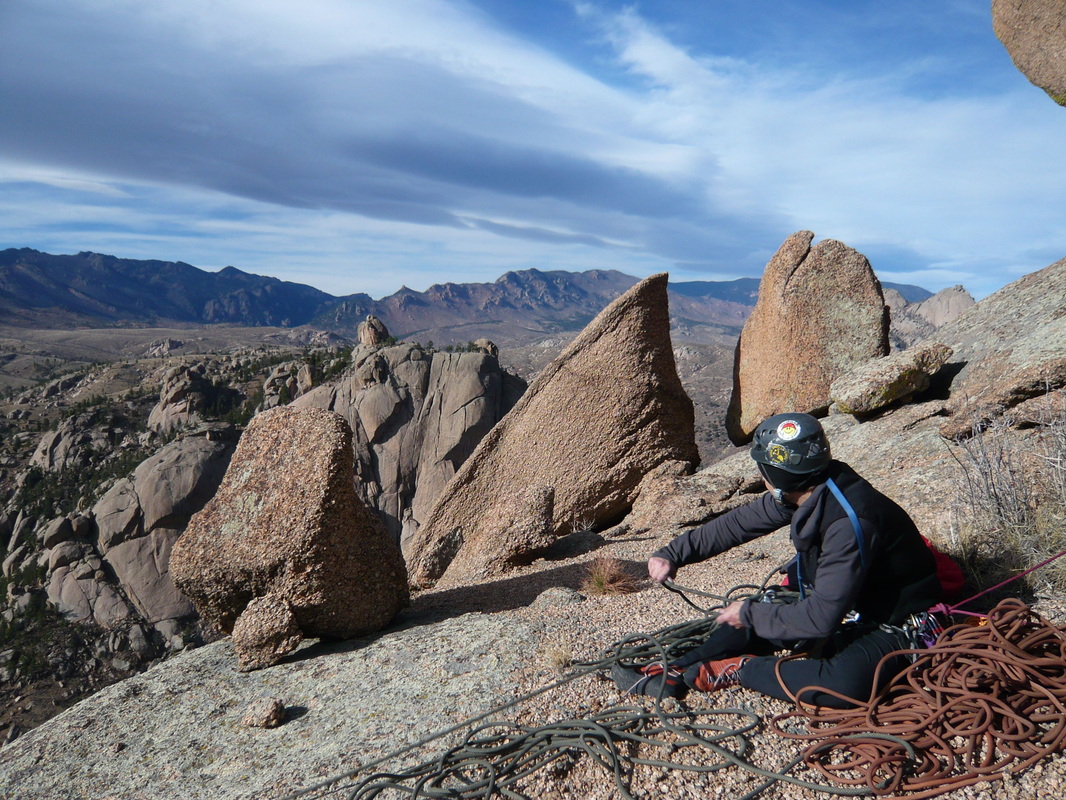
P7 - 5.6 - Mantle up a chossy block on the left of the alcove. Follow a beautiful crack straight up while enjoying the best protection on the route. It ends in
a small slot that is filled with exfoliating rock. Continue up until it deposites you in walking terrain and a large boulder to belay from. 170
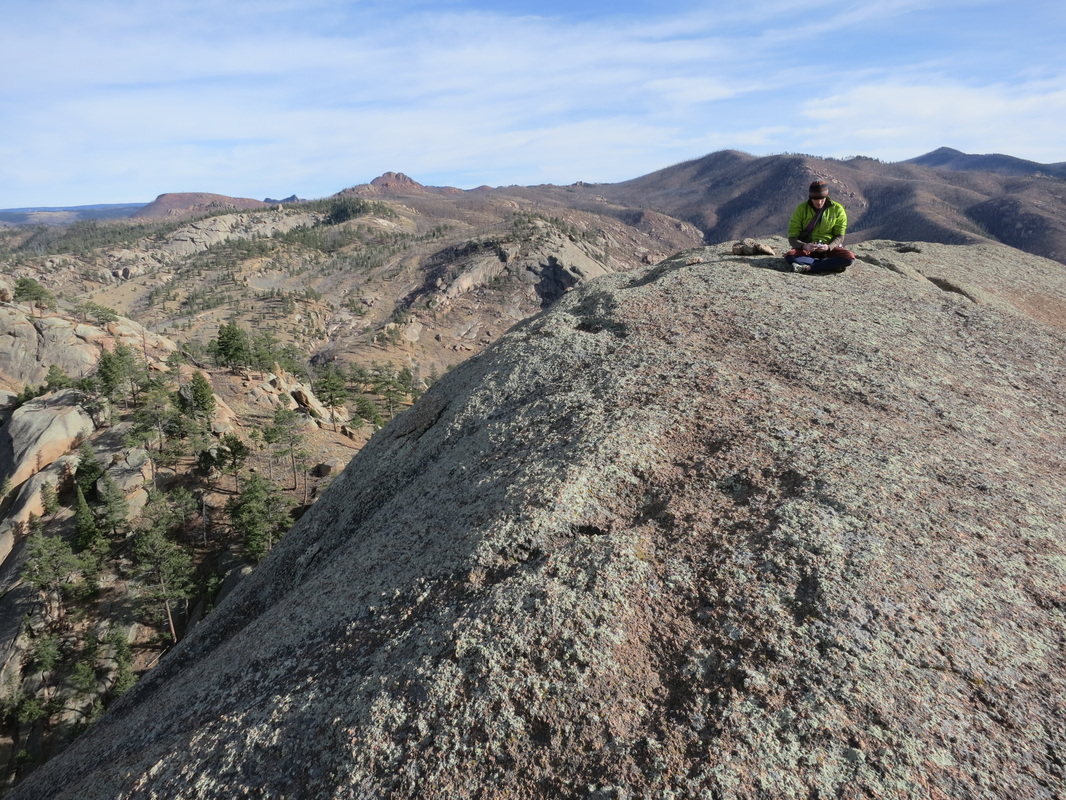
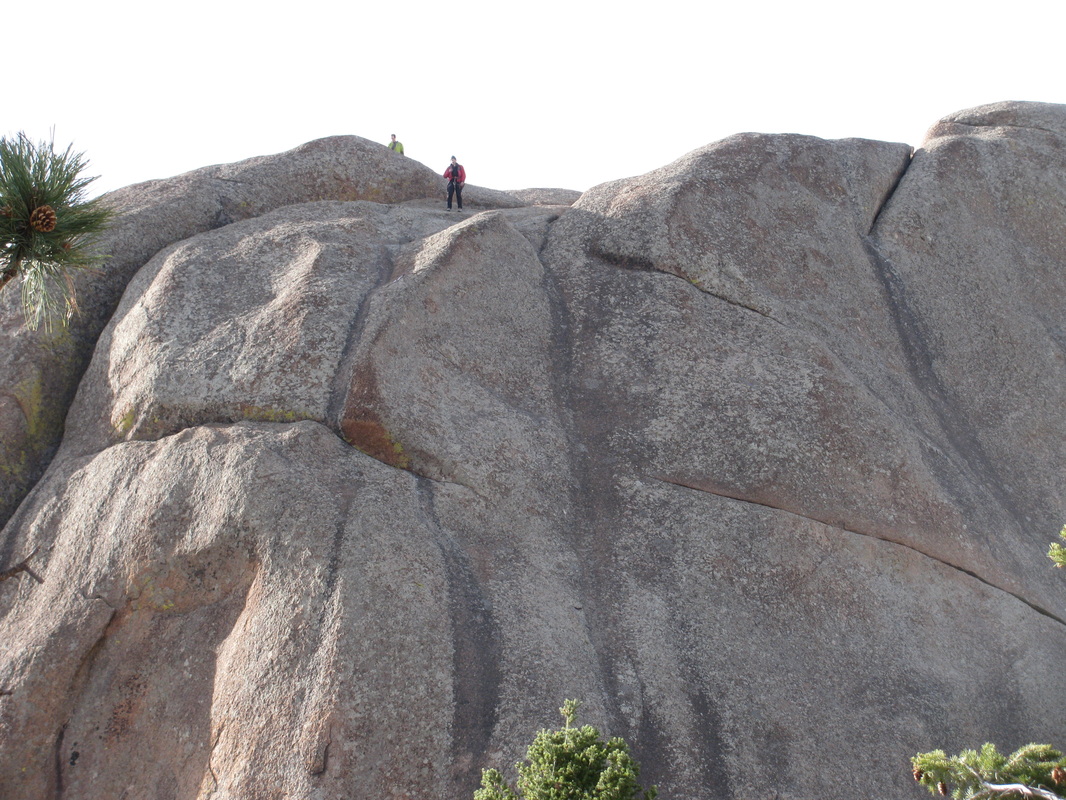
From here, simply walk the ridge to the summit.
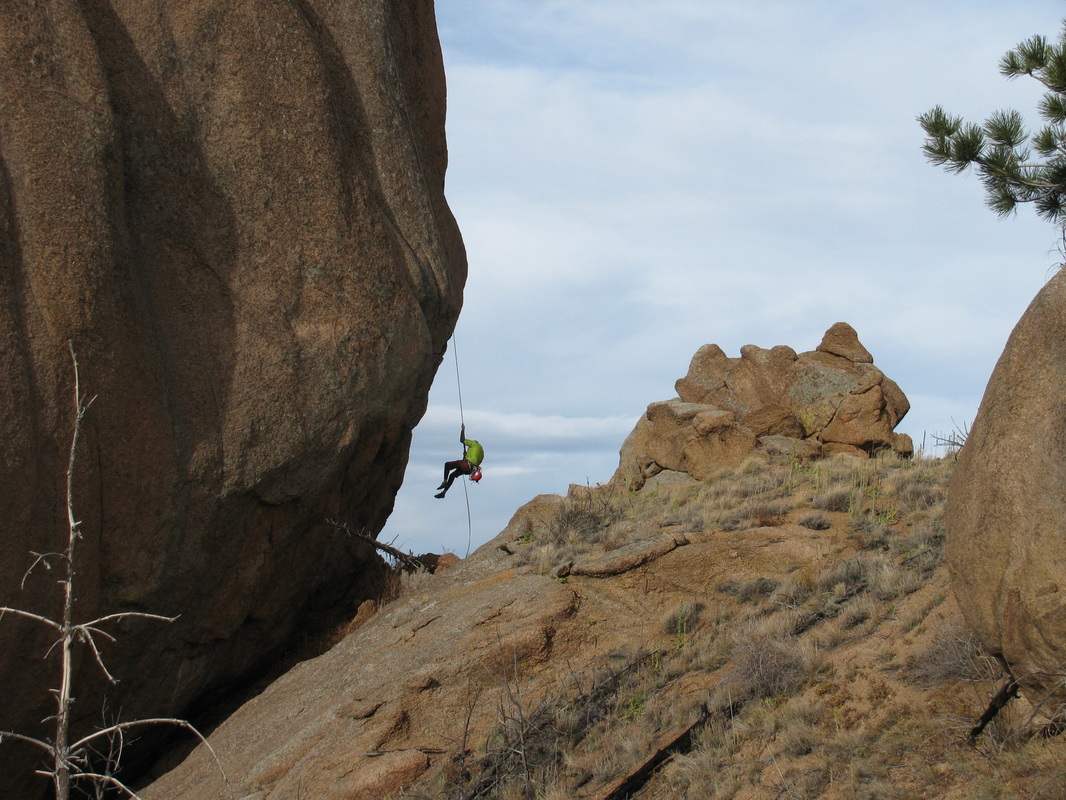
Descent: The rappel anchors are not very obvious. When we were there somebody had built an arrow out of rocks that pointed down to them so keep an eye out for this. From the true summit, head east. There is a small gully that heads down toward where the ground comes up the highest (see photos below). Carefully descend the gully and you will see the anchor right down on the edge. A butt-scoot gets you down relatively securely but a belay may not be a bad idea. A single rap gets you to a small ledge with 2 more bolts. Another single rap puts you on the ground.
Thoughts: This is a great route and a good way to avoid the 5.9 OW pitches on Petered Out. The climbing on the pitches to Gumdrop Spire is generally easy-going and the pitches are generally not very sustained. The only downside is that the lower pitches are a bit chossy (pine needles!) in spots. Also, the bottom pitches do not lend themselves to good pro and most of the gear is quite far apart. That said, this route combines to create a delightful alpine feel! Thanks for figuring this one out Tom!
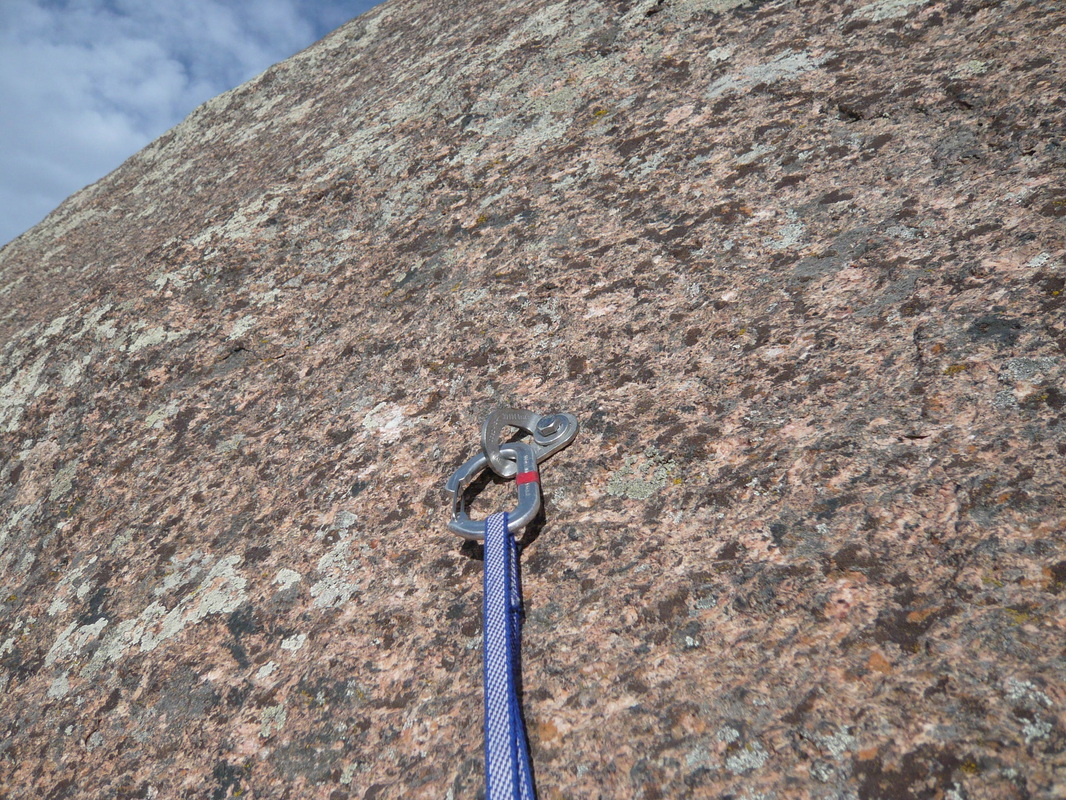
Gear: TCUs 1-4, C4s 0.5-4 with double 0.5-2, about 10 draws/alpine draws. Most pitches don't take much gear but doubles came in handy for anchors.
Crew: Mike Offerman, Pete Krzanowsky, Luke Plumley, Brian Crim
Overdue for another trip to the South Platte, we made plans for a trip to climb the seldom-visited Big Rock Candy Mountain. Pete and Tom had recently figured out a way to avoid the initial 5.9 offwidth pitches of the standard route, and we were excited to have an easier way up. This peak is one of the harder ranked summits to reach in the area and provides a fun route to a unique summit.
...
Approach: There are several ways to drive in and they are all very confusing. Choose your own and park as close to Big Rock Candy Mountain as you can. Mountain Project has a good description that can be found HERE. We drove in from the east and I marked where we parked on the map below. The route starts near the furthest western corner of the rock, so make your way toward it. Navigate up several gully systems until you arrive at the base of the "standard" Petered Out route (looks like this). Continue to work your way up a brushy class 4 gully system that leads just up and right of Petered Out. It will top out and end at a small saddle near a small tunnel in the rock. The first pitch starts here and works out the small disappearing ramp around the corner.
Route:
P1 - 5.7S - From the small belay ledge, make an easy but exposed rightward traverse to the corner about 25 feet out. Once at the corner, plug a large cam
and work your way up by jamming the crack in the corner. You will soon find yourself in a small chimney that might be protected with a BIG
cam (i.e. #5 or 6). Squeeze up the chimney and step delicately out onto the slabs. Continue up until the angle eases and establish a belay in a
crack. Without big gear, this pitch is very runout and could potentially result in a ground fall from higher up. 120'
P2 - 5.6 - Continue to move up the slab, pass two small steps and arrive on a ledge with a tree (about 40'). Walk up the ledge and scramble up a gully on
your left to belay from a large, sap-covered tree. 180'
P3 - 5.7 - From the sappy tree step out onto the slabby face to your right. A thin crack leads slightly right to a tiny left-angling ledge. A few steps left
allows access to another thin rightward crack. Work up with thin pro to a cozy ledge below a short chimney. 100'
P4 - 5.7 - Squeeze up the short (about 20') chimney to a ledge. Walk around the Gumdrop and belay from the bolt on the Gumdrop that faces the slabs
above. It is tricky to see and it above your head. 150'
P5 - 5.7S - This is the money pitch of the route and it ascend the beautiful, immense and run-out slabs above you. Move toward the intimidating 3-4 foot
gap separating the ledge from the slabs on the other side. Toward the right side there is a weakness. Make a committing step across the gap
and establish yourself on the other side. Carefully move up and left until it is possible to move up and clip the bolt. Don't fall before getting to it,
there is zero protection between here and the belay. Gingerly friction up and right to the next bolt then straight up to the third one. Continue
to run it out to a crack, then follow easier rock along the crack hard left to a 2-bolt belay. Smile, this is friction climbing at its best. 170'
P6 - 5.7S - More friction! Make a few tricky moves right off the belay then friction up 15 feet to the first bolt. This is your only piece of pro for the next 60
feet or so. Friction straight up until it eases off and ends on a slight ledge. Follow easier terrain hard left to belay at a comfortable alcove. 120'
P7 - 5.6 - Mantle up a chossy block on the left of the alcove. Follow a beautiful crack straight up while enjoying the best protection on the route. It ends in
a small slot that is filled with exfoliating rock. Continue up until it deposites you in walking terrain and a large boulder to belay from. 170
From here, simply walk the ridge to the summit.
Descent: The rappel anchors are not very obvious. When we were there somebody had built an arrow out of rocks that pointed down to them so keep an eye out for this. From the true summit, head east. There is a small gully that heads down toward where the ground comes up the highest (see photos below). Carefully descend the gully and you will see the anchor right down on the edge. A butt-scoot gets you down relatively securely but a belay may not be a bad idea. A single rap gets you to a small ledge with 2 more bolts. Another single rap puts you on the ground.
Thoughts: This is a great route and a good way to avoid the 5.9 OW pitches on Petered Out. The climbing on the pitches to Gumdrop Spire is generally easy-going and the pitches are generally not very sustained. The only downside is that the lower pitches are a bit chossy (pine needles!) in spots. Also, the bottom pitches do not lend themselves to good pro and most of the gear is quite far apart. That said, this route combines to create a delightful alpine feel! Thanks for figuring this one out Tom!
Gear: TCUs 1-4, C4s 0.5-4 with double 0.5-2, about 10 draws/alpine draws. Most pitches don't take much gear but doubles came in handy for anchors.
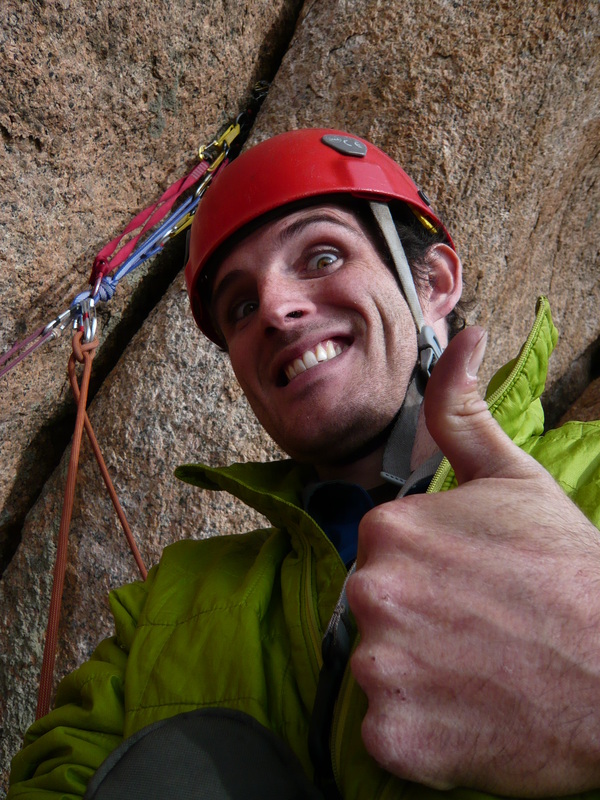
Photos are a mix of ones taken by Mike, Pete, Luke and myself.